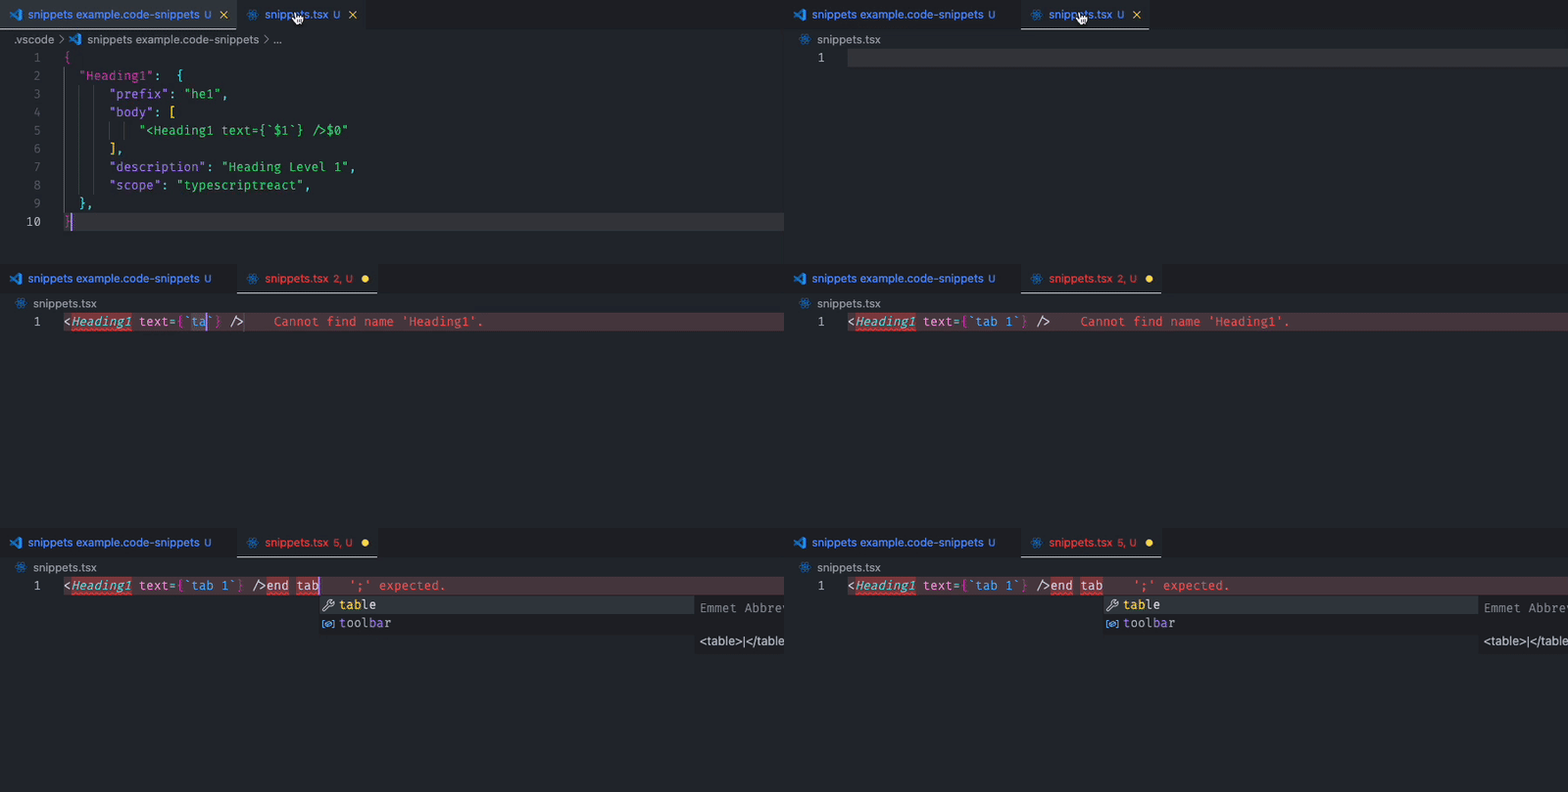
Code snippets are similar to emmet abbreviations which allow you to insert a snippet of code completely customised to your requirements simply by typing a prompt. Want to join in on the snippet fun? Carry on reading to learn how to configure your own snippets file!
Creating the snippets file
-
In VSCode navigate to:
Mac: Code -> Settings -> Configure User Snippets
Windows: File -> Preferences -> Configure User Snippets
-
Decide on the scope of your snippets file:
A New Global Snippets File - which will make snippets available in all languages
A New Snippets File for 'folder Name'. This will allow you to make a snippets file for use in the folder than you have open. Note this option is only shown if you have a folder open in the workspace.
For a specific language - select the language from the dropdown list.
Type the name of your snippets file.
Add your snippets to the file. Snippets are written in JSON and there is no limit to the number of snippets you can define in the file.
Snippets syntax
The example below shows an example of the snippets file with one snippet declared:
{
    "Heading1":  {
        "prefix": "he1",
        "body": [
            "<Heading1 text={`$1`} />$0"
        ],
        "description": "Heading Level 1",
        "scope": "typescriptreact",
    },
}
So lets break down each part of the snippet.
Snippet Name
"Heading1": {
...
}
This is the name of the snippet that will show in intelliSense when you start typing the prefix which allows quick selection. The snippet name is an object that contains all the other pieces of the snippet.
Prefix.
"prefix": "he1"
This is the trigger word/s you want to type to display (and insert) the snippet.
Body.
"body": [
    "<Heading1 text={`$1`} />$0"
],
This is what you want to insert using the snippet. It can be made up of one or more lines.
We can also use $1 syntax to insert tabs to enable us to quickly tab through the snippet and insert the values once inserted in the file. These tabstops start at 1. $0 will always the last tab within a snippet, and so can be useful to use at the end of the code block, as shown in the example above.
Description.
"description": "Heading Level 1",
Optional. This is the description that will show in intelliSense for the snippet.
Language Scope.
"scope": "typescriptreact",
Optional. If defined, this will only enable the snippet to be used within files of the defined languages, so in the example above this snippet would only be available in typescript react files.
Additional Reading
This article only scratches the surface of what can be achieved with snippets. If you'd like to find out about some of the more advanced ways to use snippets I would recommend the following article from Microsoft: VSCode: Define your own snippets


