Originally posted on laurieontech.com
For a long time, my site has been built locally and deployed via Firebase. It's worked well, but with the release of Gatsby Cloud it seems like the perfect time to make a change.
Getting Started
The first thing to do is create a Gatsby Cloud account on gatsbyjs.com. Notice the different domain! If you spend lots of time in the OSS docs then you may be hard-wired to head to gatsbyjs.org.
Lucky for me, I already have an account set up since I helped write the Cloud docs!
Creating a new site
I'll start with "Create a new site". Since I already have a Gatsby site I want to connect to I'll choose that option and select my GitHub repo.
Note that you can auto-provision a site using Gatsby Cloud. This is a pretty cool way to set up a barebones project with a specific CMS.
The GUI gives me the option to specify a directory path to build and/or a branch. Since I plan to deploy the master branch root project I don't have to do anything here.
Next!
My site is also based on static content stored directly in my project. So no CMS to set up. More configuration steps I can skip!
Building my site
This section is actually kind of unnecessary. I don't need to do anything! Now that my repo is configured to use Gatsby Cloud, it's already building.
Though the logs may or may not be shaming me for my outdated dependencies...oops. I really keep meaning to fix that. But on the bright side, none of them have vulnerabilities!
Ok, site is built. Took ~4 minutes and should be even faster next time around. Sweet 😊
As it turns out I had reason to build again before I published this post. Builds take less than a minute now!
Preview
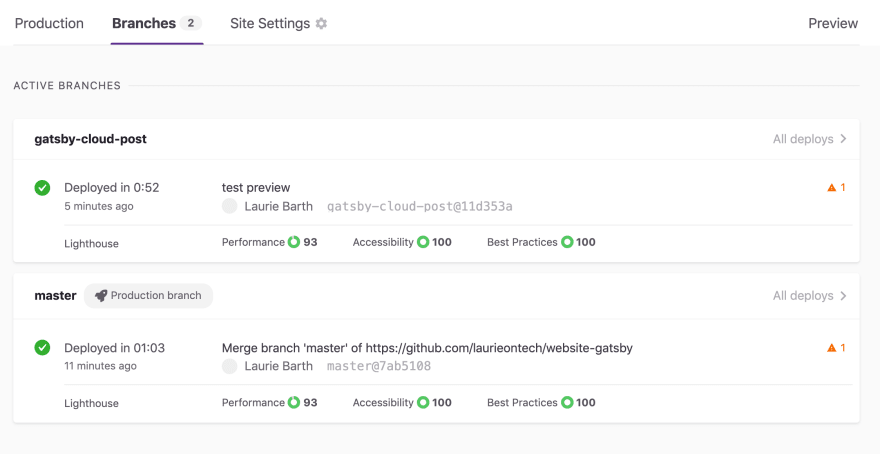
From the Cloud dashboard, I can click the "Branches" tab and look at all the current branches for my project. This means I can preview this blog post before it's live!
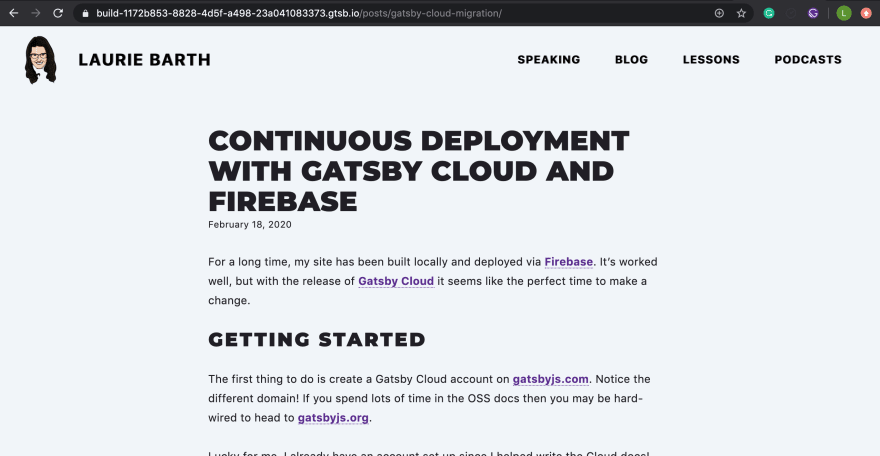
If I head to "All deploys" for the gatsby-cloud-post branch I can launch the most recent build of that branch. And there it is, my in-progress blog post!
My site is small enough that it likely makes just as much sense to run gatsby develop locally. But having this option is nice since I always run a gatsby build and then gatsby serve to make sure I haven't broken anything.
Setting up Hosting
Ok, now that I have a site set up I can head to "Site Settings" to configure my hosting integration.
It's down in the integrations section of the side nav all the way at the bottom of that page.
I could definitely use this opportunity to switch over to Netlify, and I may in the future. But for now, I know my domain is set up for Firebase and that's all working. So I'll start there.
If I select Firebase and authenticate with the site it prompts me to pick what project I want to deploy. Again, this is already set up and I've been using it for a while. So "laurieontech-site" it is.
And...I'm done? Ok, I'm actually super impressed, and I work here!
Just to double-check I went to the firebase console. As expected it shows a brand new deployment timestamp. 🥳
What next?
Now I can update my site and every time I commit it will trigger a rebuild. If I commit to master it will also redeploy. This is awesome!
Guess this means I need to stop committing directly to master. 😅 Otherwise, I'm going to end up with a lot of published in-progress blog posts!


