Hi!
In this quick tutorial, I'll show you how you can create custom cursors with just images and a few lines of CSS code.
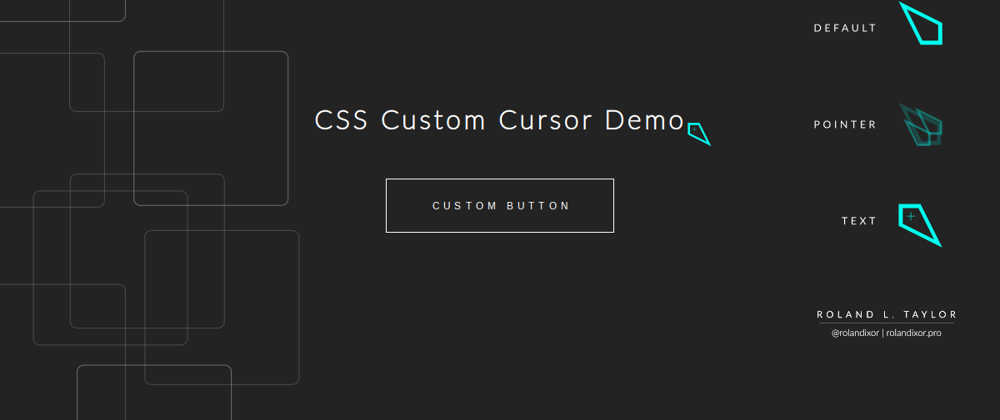
Screenshot:

The Cursors:
We need at least one custom cursor image. You can literally use any image in a format the browser supports. For example, I've used the SVG format.

I've got three images:
- default.svg
- pointer.svg
- text.svg
These will replace the following states:
- Default.
- Pointer.
- Text.
The HTML code:
For this example, I have chosen three places to use my custom cursors:
- The body:
- A heading:
- A button:
In the HTML code, you can add the following:
   <body>
      <h1>CSS Custom Cursor Demo<h1>
      <button>Custom Button</button>
   </body>
NB: The text within the tags can be literally anything.
The CSS Code:
The CSS code is where everything really happens. We only need one property for each element, as follows:
body {
   cursor: url('default.svg'), auto;
}

h1 {
   cursor: url('text.svg'), text;
}

button {
   cursor: url('pointer.svg'), pointer;
}
And that's it! Check out a recorded demo of this tutorial in action below: