At first, the command line interface can be overwhelming: it’s an empty screen and a prompt. When you type, text appears on the screen. But before you can get any use from it, you need to know what to type. Let’s take a look at the commands that will help get things done when you are just starting with the command line.
Working directory
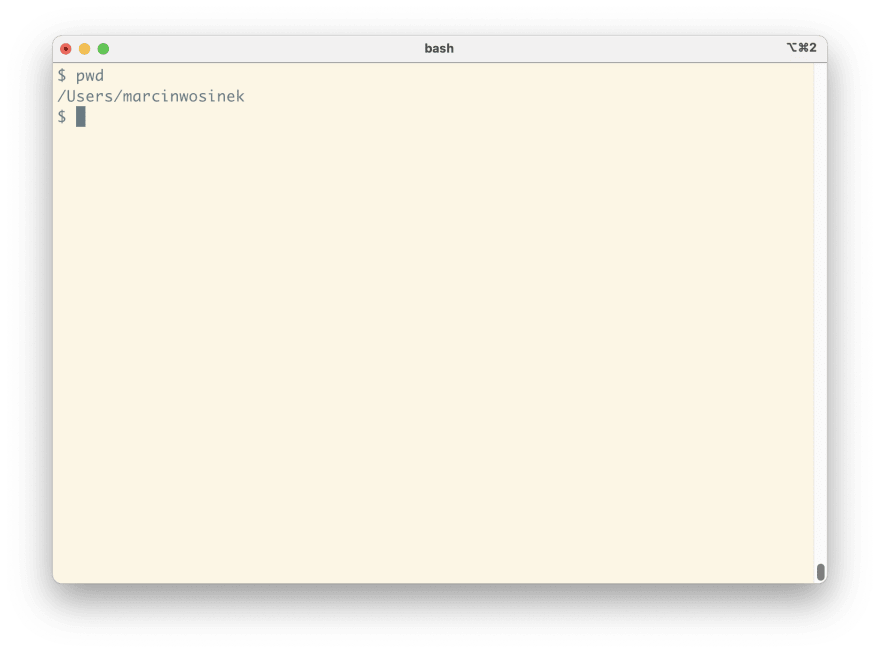
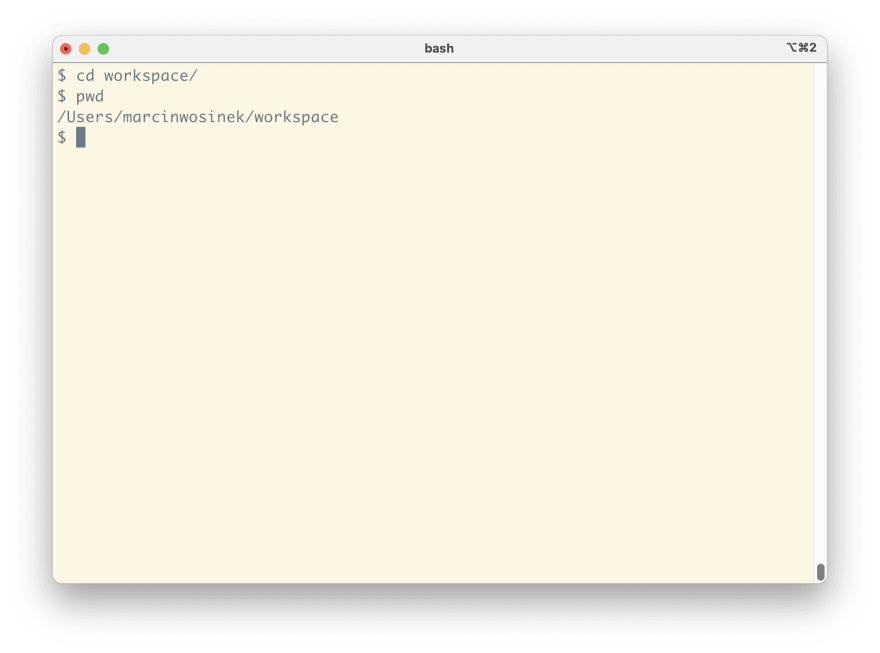
Before we start any meaningful work, we first need to know where we are. The commands you run are evaluated in a folder—the working directory. There are few commands that help you check your current context and move to a more convenient location:
-
pwd—shows the full path of your working directory:
-
cd <folder>—switches the working directory to<folder>:
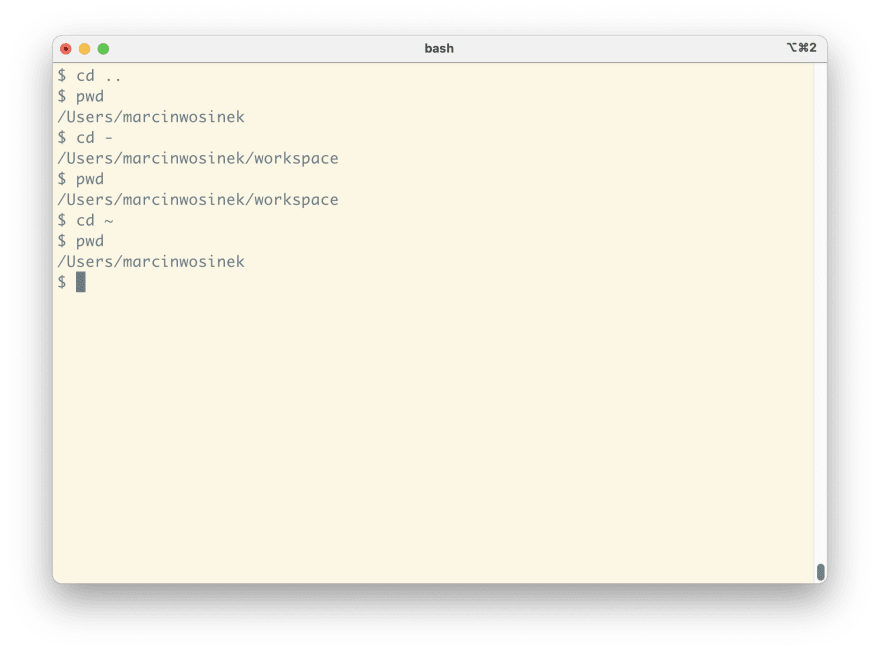
A few more examples with cd:
-
cd ..—moves to the parent folder of the current one -
cd -—moves back to the preview folder -
cd ~—moves to home directory
Listing files
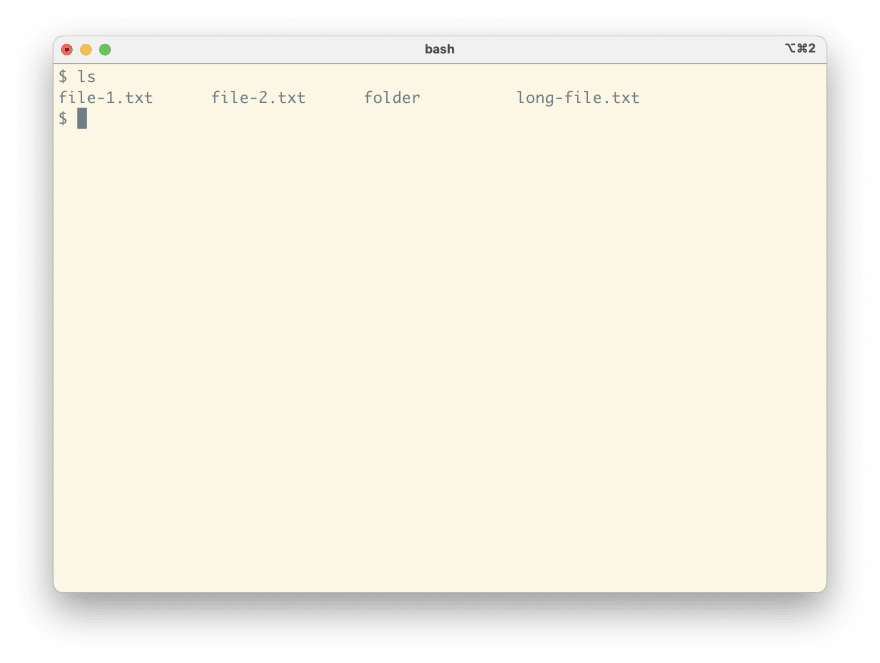
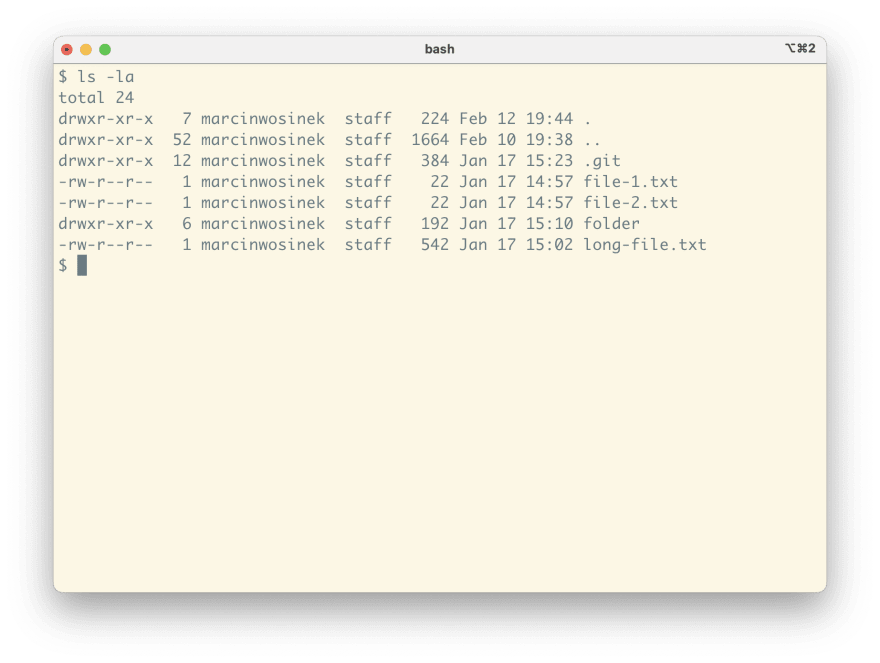
So, now that we know what folder we are in, let’s now see what we have inside. The command to show a list of files is ls:
As you see, both files and directories are shown together, and it’s not entirely clear what is what. I usually run this command with two parameters:
-
-a—to show all files, event the hidden ones -
-l—to show the information in long format
In the output you can see:
-
.&..—aliases to the folder itself and its parent folder -
.git—hidden folder for keeping the files used by a Git repository - each line starts with
-ord. The first means files; the second means directories.
Managing files and folders
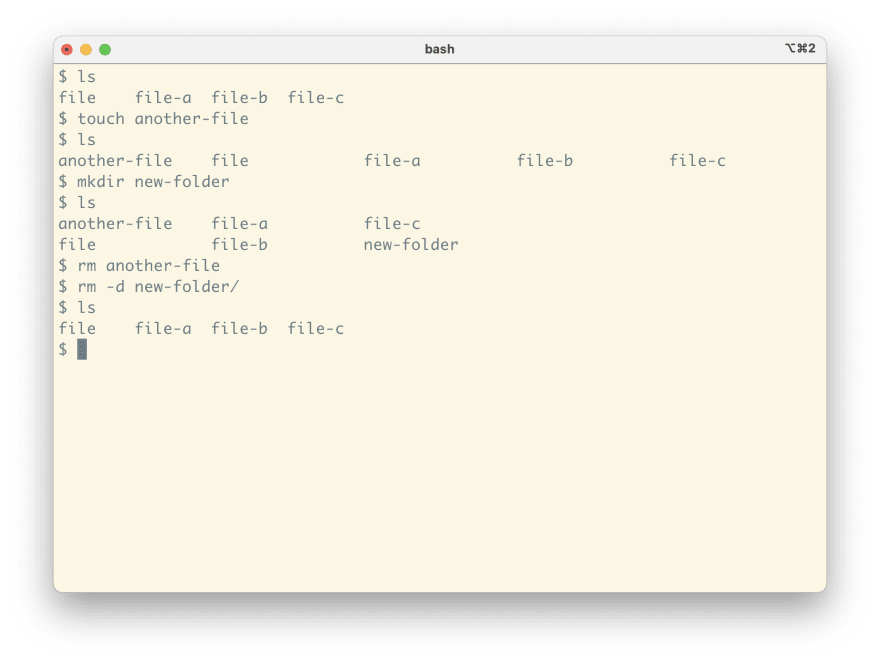
To finish up with the basics, we just need some commands to modify the files and directories. Commands to do it:
-
touch <file-name>—creates an empty file -
mkdir <directory-name>—creates an empty folder -
rm <file-name>—removes the specified file -
rm -d <directory-name>—removes the specified folder
Read the friendly manual
man is a command that shows you a manual for other commands. All the commands we have mentioned so far have plenty of options. You can learn more about them directly from the terminal by using man. You run man <command name>:
Return value
echo is a simple program that returns its arguments to the standard output. You can use it to write a value to a file:
echo Test > test.txt
Display files’ content
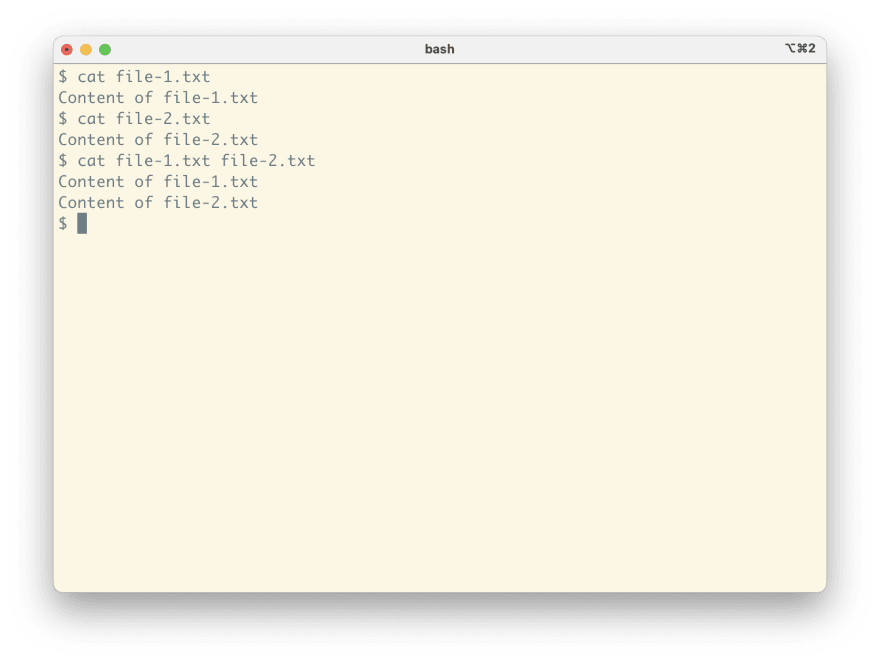
cat a tool mean to con*cat*enates multiple files. It’s often used to pick the content of only one file, to get it to the standard input of another command with the pipe operator. Example:
cat file-1.txt file-2.txt
Count content of the file
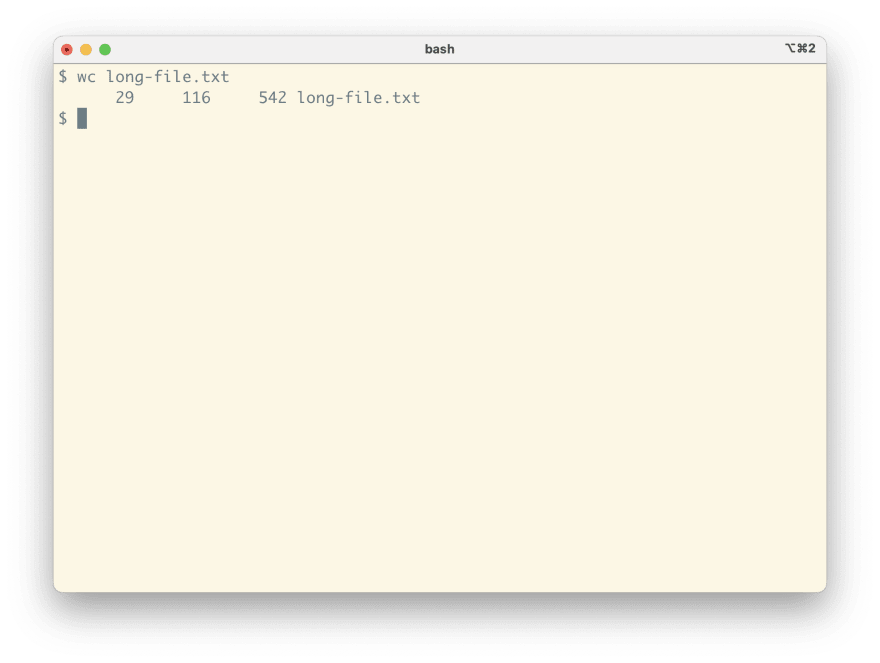
In the context of CLI, wc stands for word count. It lets you check the length of the output of other files:
The output here means that in the specified file we have:
- 29 lines
- 116 words
- 542 characters
View part of the file
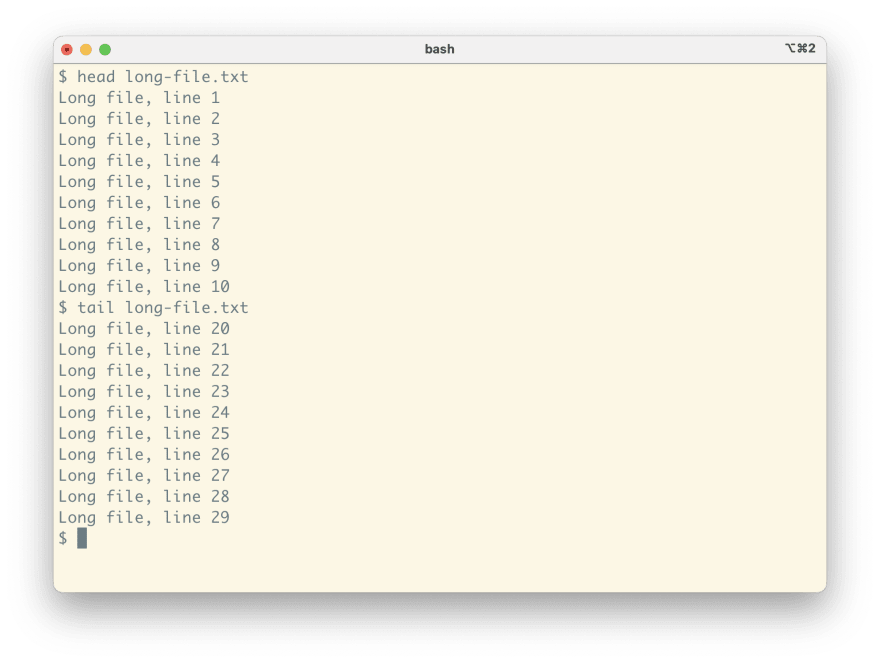
head and tail are utilities to read a few lines from the beginning or end of the files, respectively. By default, both show 10 lines. You can see them in action:
Checking the whole file
less is a command that paginates a file or its input to fit it on the screen. I covered the basic navigation shortcuts in my recent article:
You can use less to view the output of any other command—just connect with a pipe:
If you are confused by the terminology, I explain standard input, output, and pipes here.
Searching the file content
grep is a great search tool that supports regular expressions. Its power comes from flexibility: by specifying one of its numerous options, you can tweak its behavior to what you need. By default, it waits for values to come in the standard input—not the most common use case. Therefore, you most likely want to run it as a filter inside a command pipeline.
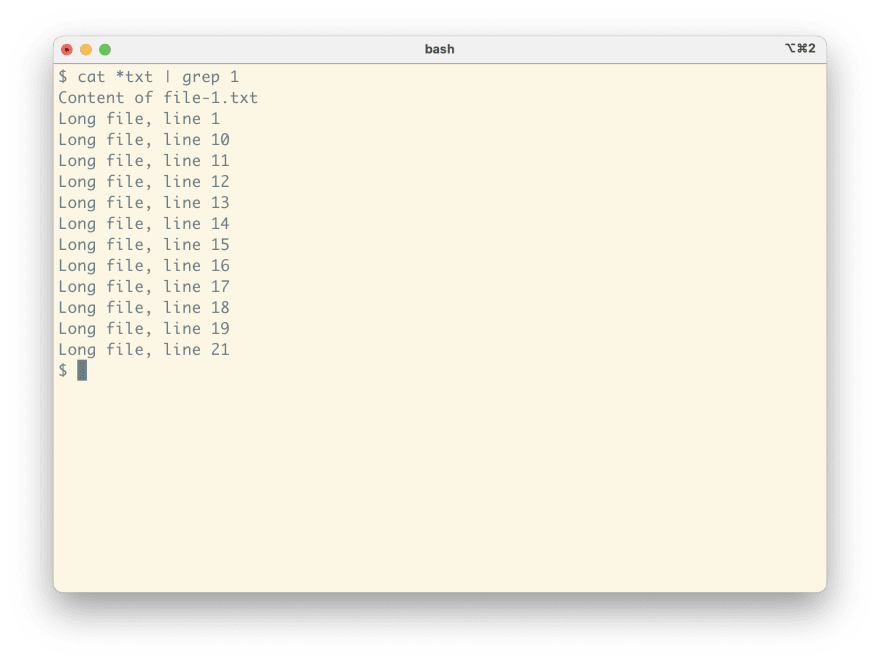
The typical use as a pipe filter looks like this:
In this pipeline:
-
cat *txt—concatenates all files in the current folder that ends with txt and returns it in a standard output -
grep 1—returns only lines that have1in them
Reverse search
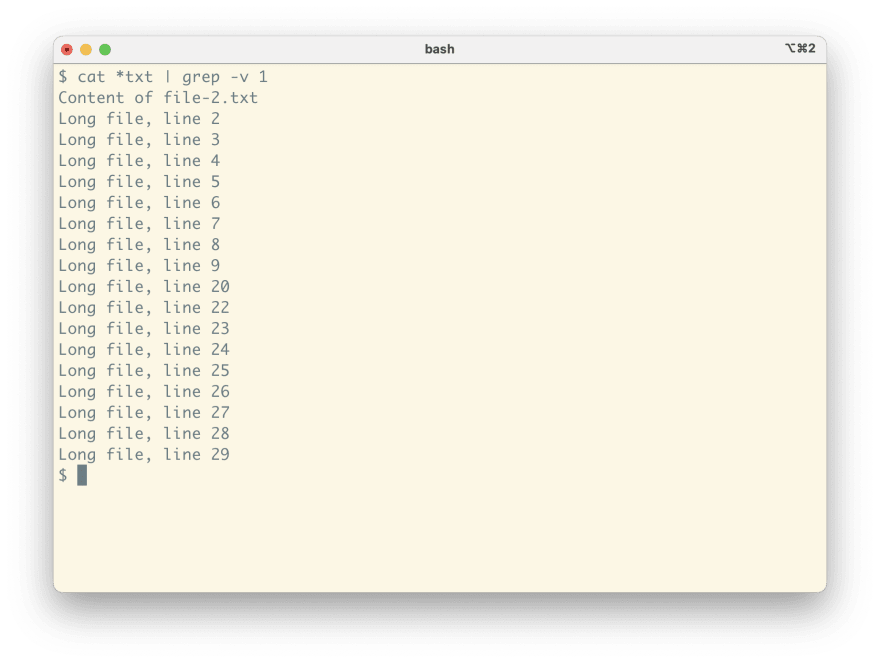
Often, it’s easier to describe what you don’t want to have rather than what you want. With grep, you can easily use it to filter out some lines by adding the -v option to it. For example:
Note! You can combine many commands with the pipe operator:
cat *txt | grep -v 1 | grep file-
Content of file-2.txt
Searching through files
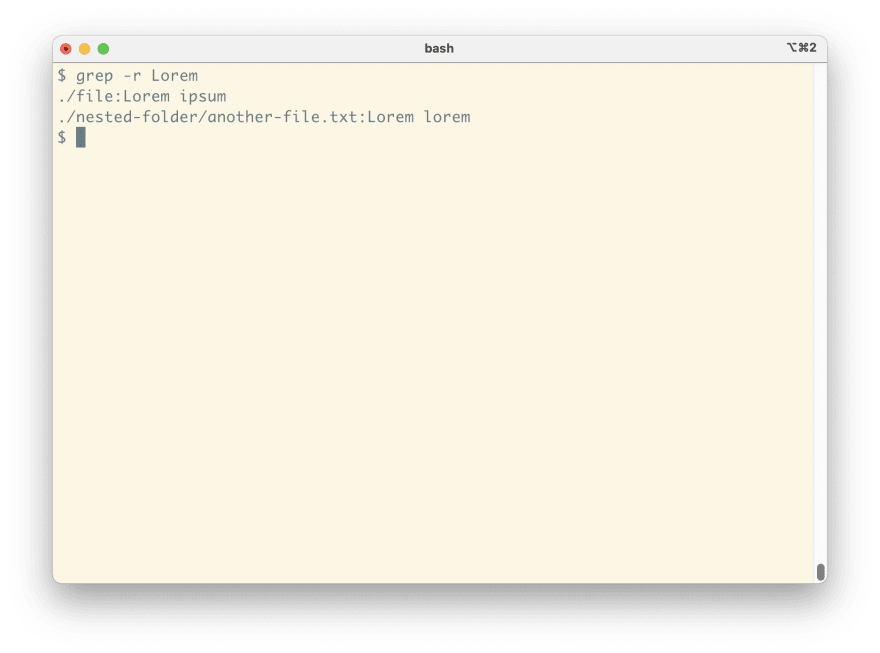
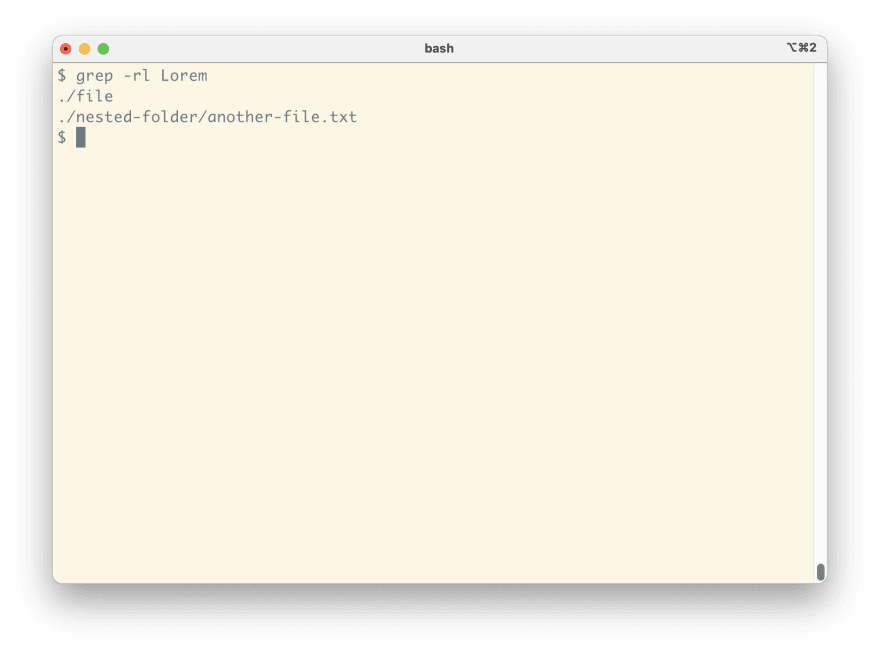
Grep allows you to search in files as well—you just need to add -r (from recursive search in subdirectories):
In the output, you can see:
-
./file—path to the file -
Lorem ipsum—the matching line
File names only
If you are interested only in which files have your matching values, then you can add the -l option to your command:
This option becomes especially useful when you combine it with the next command/
Calling commands based on the output of other commands
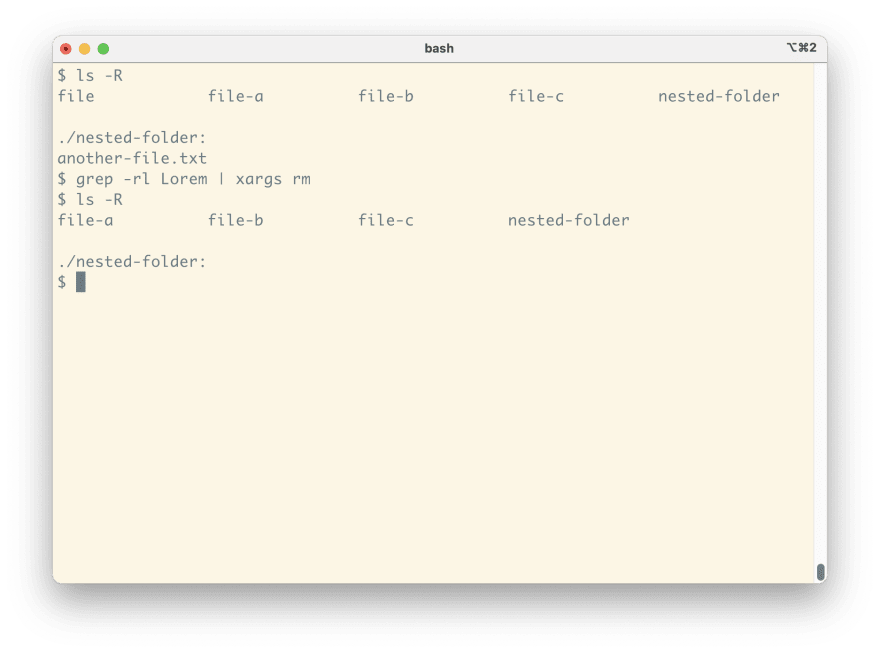
xargs takes lines from standard input and adds them as parameters for another command. One of the common uses is to find all files that contain some value and run a command on them—for example, delete them:
grep -rl Lorem | xargs rm
There is no output of the command, but let’s see what files are available before and after running the command:
ls
long-file.txt
For now, the files are gone, but later in this article we will see a tool that helps us track and restore files.
As you can see in the second run of ls -R (recursive listing of a directory and each subdirectory):
-
fileis gone from the top directory, and -
another-file.txtis gone from the nested folder.
Scripting files edits
sed is a stream editor. It allows for modifications to the values in the pipe:
echo 'hello world' | sed 's/world/you/'
hello you
In our example, the parameter s/world/you/ denote the following:
-
s—means substitute -
world—regex to match the value to be substituted -
you—new value to be used instead
Editing files on disk
A more practical use case for sed is to edit files. When can combine it with grep and xargs, you can start developing pretty neat one-liners that will help you apply big updates to your codebase:
# at Linux
grep -lr file | xargs sed -i -e 's/file/File/g'

# at macOS
grep -lr file | xargs sed -i '' -e 's/file/File/g'
In our command:
-
grep -lr file—returns the list of all files that containsfile. -
xargs—turns them into input parameters forsed. -
sed -i -eorsed -i '' -e—switches the editor to work directly on the files. -
s/file/File/g—substitutes lowercase letter “file” with uppercase “File”./gat the end means that the change is meant to be global. It should update every instance that is found in the file—not only the first instance in each line.
Track files changes
Git is a version control system that is ubiquitous in our industry. If you intend to become a developer, you will need to learn it eventually. I’ve already written a lot about Git, but here we will focus on Git commands that integrate nicely with other CLI tools we have covered here.
git grep
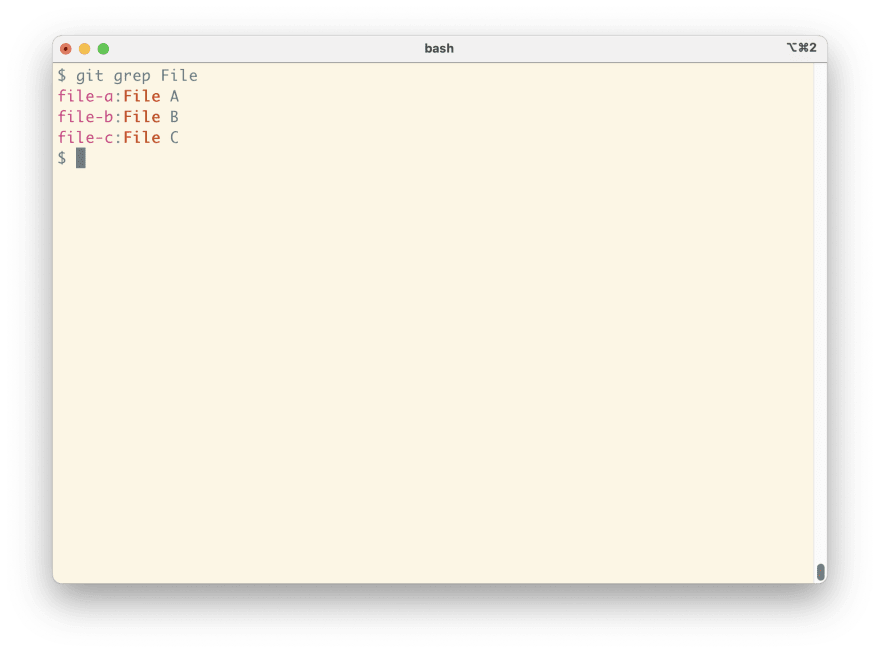
This is a command inspired by grep. It lets you search through the files tracked by the repository. When you track your files with Git, you can use git grep instead of grep -r. The main advantage is that it automatically ignores files that you set Git to ignore—which is often the case with node_modules.
Similar to the original grep, you can use -l option to get only the file names:
$ git grep -l File
file-a
file-b
file-c
git ls-files
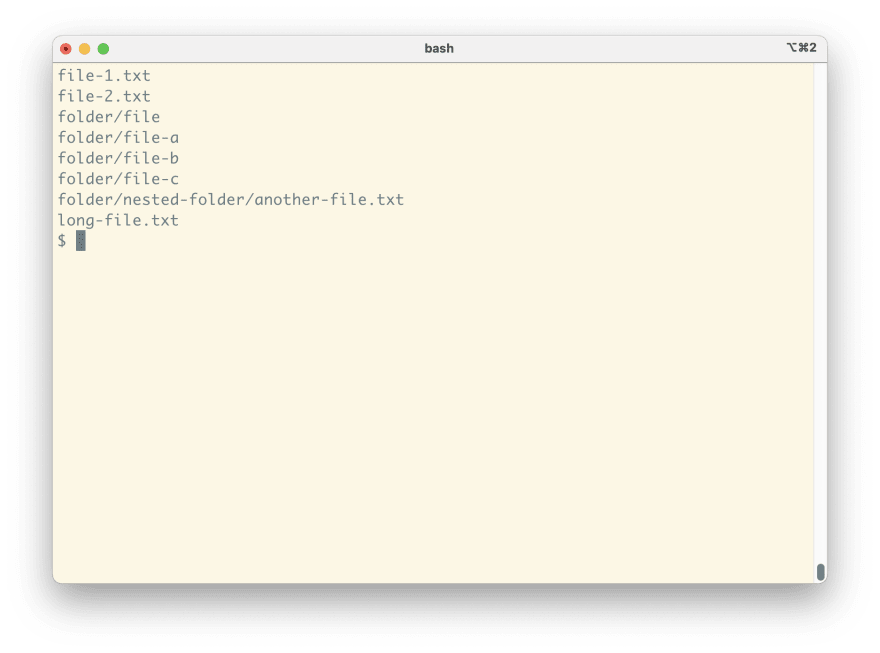
A command to list all files tracked by the repository. You can combine it with grep to find all the files that match some pattern, and then use xargs to do some operation on all of them.
Text editor
vim is a text editor that is a bit of a nerdy cliché, and my editor of choice. I switched to it after I got tired with an old computer that struggled to run Eclipse and other big integrated development environments (IDEs).
Vim is fast, flexible, and offers great keyboard shortcuts. Even more: keyboard shortcuts are the only way to use it because it doesn’t support mouse. The learning curve is a bit steep—at first it can be challenging to even close it. Long term, learning Vim can be a good investment. What makes it especially worthwhile is that the editor commands in Vim are very close to the commands that are used by sed and search patterns in grep. What you learn in one of those tools, you can immediately apply in the other tools as well.
Clipboard utilities
Sometimes you would like to get the output of a command line program and just paste it in one of the applications in your graphical interface. All operating systems bring some utility that allows you to do exactly that:
-
pbcopy—utility that is available on macOS -
xclip—utility that you could install on Ubuntu
cat file-1.txt | pbcopy
And now I can paste the file’s contents in the browser.
Managing terminal sessions
tmux is a terminal multiplexer—a program that allows you to run multiple sessions inside one terminal emulator window. It allows you to keep different ‘windows’ for different uses. For example I usually have:
- one session for running Git commands,
- another with vim, where I edit code, and
- at least one session to run the development server
Want to learn more?
The command line is a great tool set that is often challenging at the beginning. On this blog, I sometimes try to explore such topics in a beginner-friendly way—to help new developers learn those tools so that they can become more efficient with their work. If you are interested in getting updates about my new CLI-related content, sign up here.

