"Read Me or I'll Devour You: How to Write a Good README"
That's a dramatic title, you might be thinking... But I couldn't resist using that phrase. After all, READMEs are meant to be, as the name suggests, read. If you try to contribute to or use an open-source project without reading this document, you might metaphorically be devoured by doubts.
Today, I chose to talk about README because it is the starting point for any open-source project, from a famous framework like React.js to that calculator you made to practice your programming skills.
What is a README and Why Should I Care?
But what is README? As the name hints, it is a document meant to be read. But why?
README is a markdown (.md) file considered the instruction manual for your project. It should contain useful information so that others can understand, contribute to, and use your project just by reading this file.
You should care because this is the first file people will read in your project! Having a good README also helps your project stand out since many projects often lack a good README.
How to Create the README File
Directly through GitHub
First, let's get technical. There are various ways to create a README.
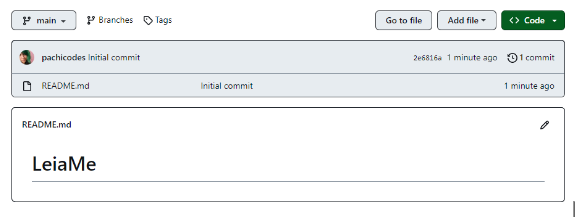
The first is when you create your new project on GitHub. On the creation page, you will find the text 'Initialize this repository with,' and 'Add a README file' is the first option. You can click this box, and your project will be created with a README:
This will create the README.md file in the root of your repository, and the content of this file is what appears on the repo's main page.
The README created here is quite basic, but in this article, I'll teach you how to make it more comprehensive.
Create Manually
If you already have a project created or want to create the README manually, all you have to do is create a file named README.md in the root of the project, wherever you prefer (terminal, IDE, or even through GitHub itself).
In the image below, you can see an example of a README being created inside the 'leiame' folder through the Git terminal:
Now that we have our file created, let's edit it with the necessary items.
Editing Your README
The README file can contain various information about your project, and many of these items will be optional. Still, a good README should, at a minimum, have the project title and a good description, installation and running instructions, usage instructions, contribution guidelines, and its license.
Let's talk about each of these items.
Title and Description
The title should be short but as descriptive as possible to help people understand the project's main objective. The description complements the title: What does the project do, and what is its purpose? What technologies are used in this project? You can also add challenges you faced while creating the project and features you plan to add in the future.
I dare say that the description is the most important part of any README, so dedicate special care to this section ❤️
How to Install and Run the Project
This item doesn't apply to all projects, but if your project is something people need to install and run locally, this is crucial. Here, you should include a detailed step-by-step guide on how to install the project and everything necessary to run the development environment smoothly.
How to Use the Project
Write instructions on how to use your project and add examples of how it has already been used (a great tip is to ask those who already use the project to contribute to this section). It's nice to add visuals, such as screenshots of the project in action and anything else you find interesting and relevant.
How to Contribute
Open-source projects are usually always accepting contributions (after all, that's the main appeal of open source), so it's good to have a contribution guide. If someone wants to contribute, what should they do? Just fork and create a pull request, or do they need to create an issue first? We have a contribution guidelines guide if you need inspiration.
License
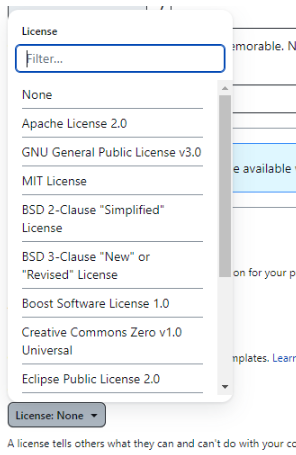
When you create a new repository on GitHub, they will ask you which license you want to use. The license tells people what they can and cannot do with your code, such as modify, use, and distribute it. There are various licenses, and I usually see small projects using MIT. But if you have big ambitions for your project, I recommend researching more about licenses to avoid future problems.
Optional Items
The above items are what I consider essential for a well-made README, but you can always improve it.
As optional items, we have:
- A table of contents, if your README becomes too extensive, is a good item to facilitate reading.
- Credits (if you had help or were inspired by another project or person, it's always nice to give credit where it's due).
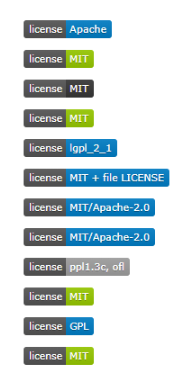
- Badges are a great visual, and there are all kinds of badges. You just have to go to https://shields.io/, copy the code of the desired badge, and add it to your repo. You can use a badge to demonstrate the project's license, for example:
CHALLENGE: Let's Create a README?
That's all I had for you today, and I want to leave you with a challenge: Go to one of the projects you already have on GitHub and create a nice README.
Then come back here and comment with the repository link so I can see!
You can also share it on social media if you prefer, but please mention this article ❤️
Thank you for reading this far,
Pachi 🥑"


