My good friend Floor wrote an article how to source events recently. Read that first if you don't yet have a good list of events that you're interested in.
TL;DR
If your role includes decision-making on industry or community events in DevRel or Dev Marketing, this article can help you go through your own lists of events and rate them against each other, so you will be able to include a data-driven approach when deciding on contributing (sponsoring, speaking, volunteering, participating) and be less biased through previous participation or sparkly advertising. This process takes a heavy stance on diversity, equity and inclusion and so should you.
Objective
This is meant as a step-by-step guide to automate a data-driven assessment of events for sponsoring, participation, contribution and speaking. The event list can be dynamic and gathered through a form request tool, or imported from existing assets like a gSheet, Excel or Airtable. At the end of this guide, you'll be able to inspect a list of individually sourced events with supporting data for prioritising your time and budget. Whether you want to pick the top five or the best 30 that fit your (budget|focus topics) doesn't matter.
Disclaimer
A) This full process is work in progress.
B) The weight of different factors that heavily influence the outcome in form of a Rating is totally up to your customisation. We don't suggest by any means to keep the example weighting as is, but trial and error to best reflect your company's values and preferences. This customisation requires a certain level of programming knowledge as you will have to modify and manipulate arrays, variables, loops and conditions. The example weighting in the code is not what we at Postman DevRel are actually using.
The Step-by-Step Setup Guide
A brief version of this guide can be found on GitHub.
Overview
- 💿 Decide which data source to use
- 👦👦 Clone the template base on Airtable
- 📝 Create a Typeform
- 🔑 Fetch your Airtable API Key
- 🔌 Connect Typeform and Airtable
- 🍴 Fork a Postman collection
- 🚪 Set up authentication in Postman
- 💨 Set up Airtable variables in Postman
- 💾 Save everything
- 🏃♀️ Run the collection
- 🔁 Refine things
1. Defining a data source
In our case, it will be a Typeform request form to collect all relevant data, as it is most flexible and shareable as well as able to interact with Airtable through an existing Connect procedure (although it doesn't have the best user experience).
Alternatively you could decide to just import data to Airtable, but since this should be an ongoing business process, a form has been the better choice for us. You could still initially start with data from existing sheets. See import options in Airtable. Or manually fill the Airtable base.
2. Clone this Airtable base
Into your own workspace on Airtable.
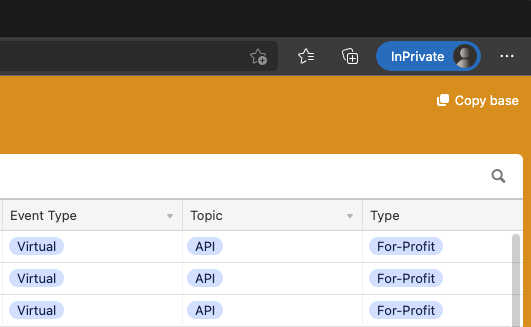
This base contains some incomplete and also outdated sample data. Replace this sample data as soon as possible with your own data.
3. Set up the request form like this Typeform.
My apologies, there's currently no way to share a template of this with you. Field names should ideally correspond to (but don't have to be the exact same name as) Airtable columns.
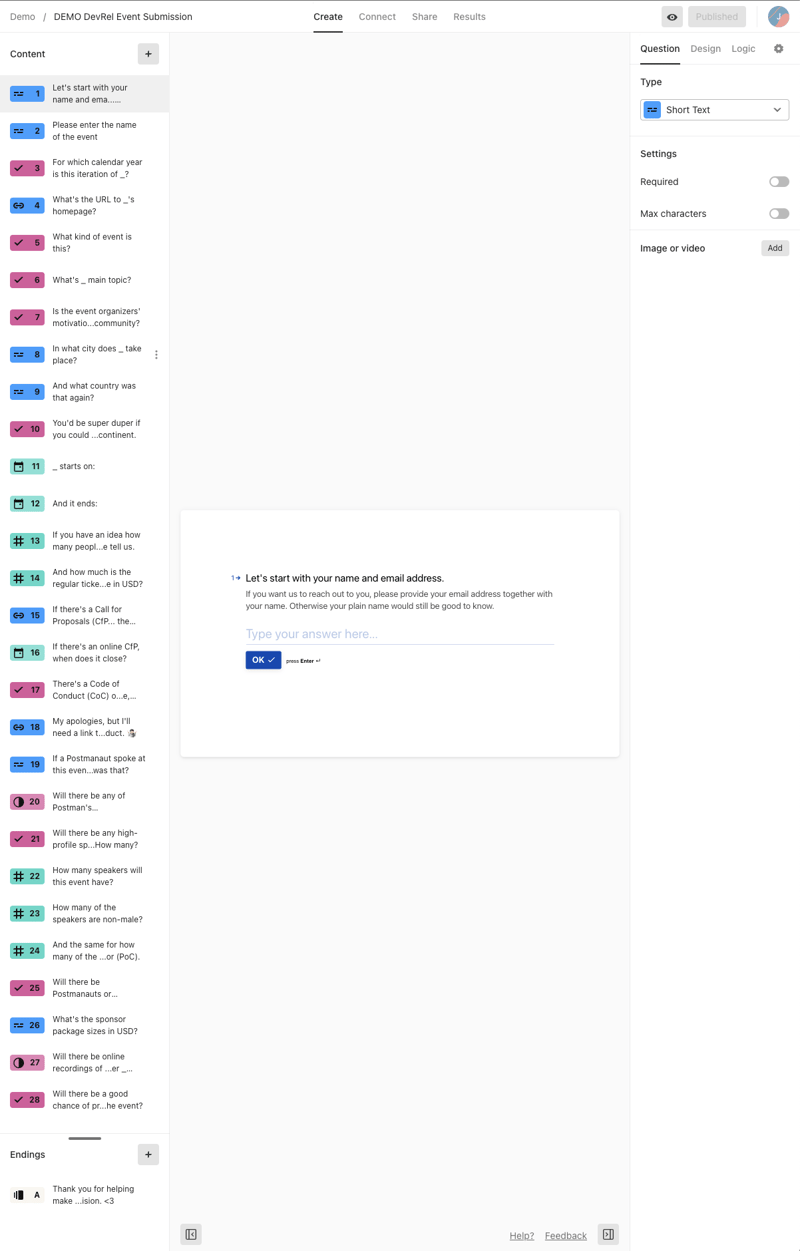
I suggest to start with a smaller set of questions (begin with 3 or 4), and not to add custom questions just yet. Do that once you implemented the whole template process and feel confident enough to also adapt the code behind. Otherwise you'll end up with a bunch of answers that you don't make use of.
4. Generate and copy your Airtable API key from your account settings
Head over to your Account page.
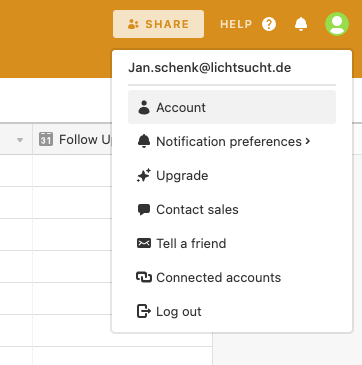
If you haven't done so before, generate an API key. It only takes the blink of an eye.

And now copy that key to your clipboard.
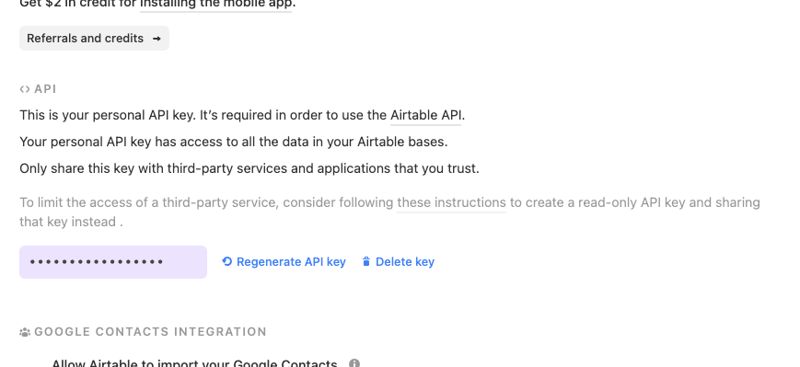
Leave that window open, you'll need the API Key in another step in this guide again.
5. Now you can connect Typeform with Airtable.
All of the form replies will go into Airtable. There's just one caveat. The process of connecting the two is somewhat awkward, and updating an existing connection isn't possible. You can't even reload while setting up. But see yourself.

Now select Connect, and Typeform will ask you to log in to Airtable and provide your API Key.
After that, your good to go and match questions with fields in Airtable.
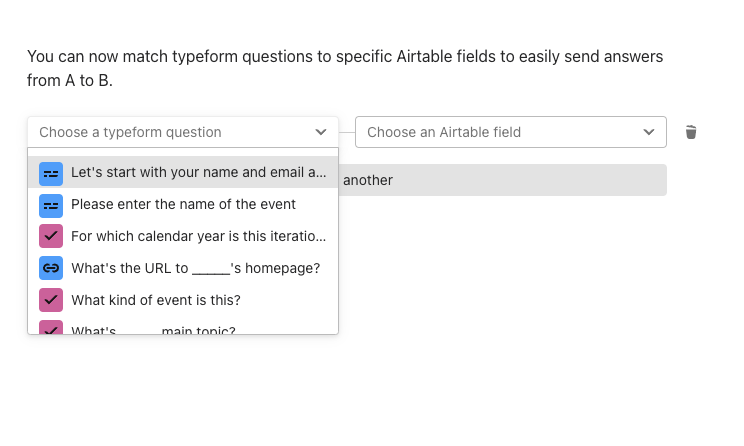
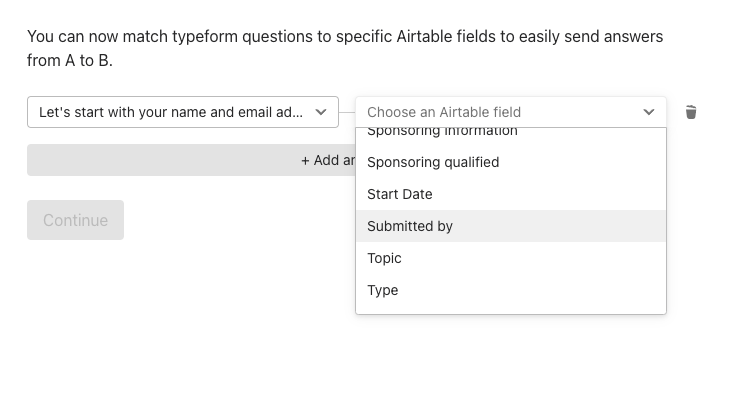
This process is why I mentioned to start with a few questions first. It looks fancy first, but turns out to be awkward. Beyond awkward. Once you run into a mismatch, you have to start over. From. The. Beginning.
And yes, you will run into mismatches. More than once. Twitter mention me (@jansche) if you don't.
Once you're done and activated the integration, data will feed into Airtable. Do a test run through answering all questions in your own form.
6. It's Postman time!
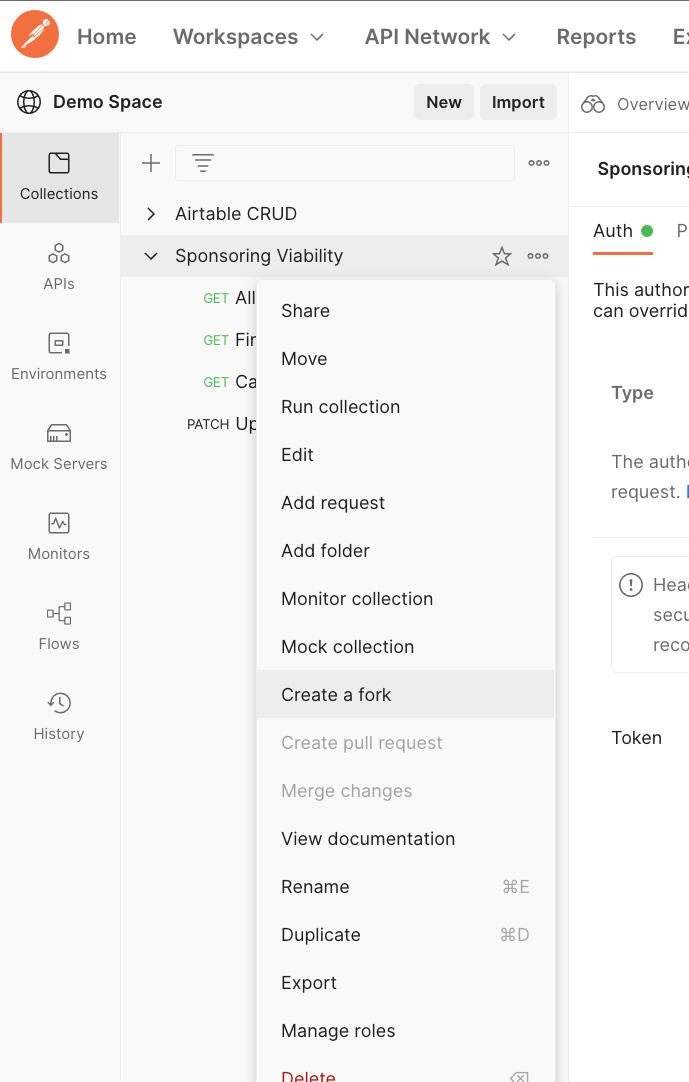
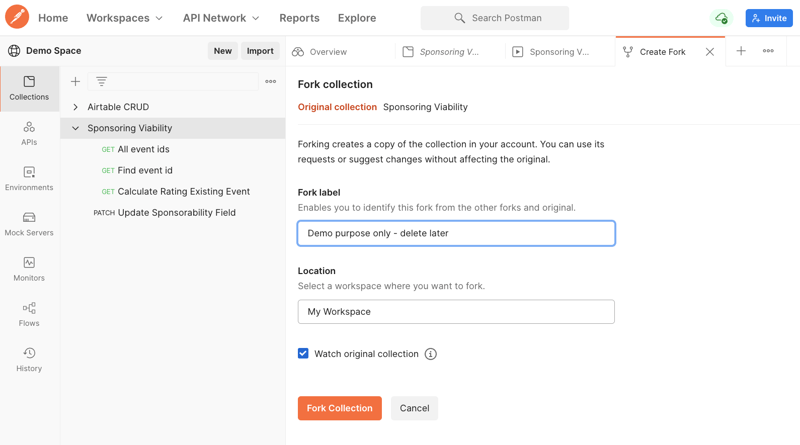
Create a free Postman account if you haven't and then fork this Postman collection into your own workspace.
7. Use your Airtable API Key in Postman.
For now, it would be ok to just paste it where it says {{APIKey}} in the request builder (which is the main view of the collection). Open the request builder by selecting the container named "Sponsoring Viability" in the left hand collection view.
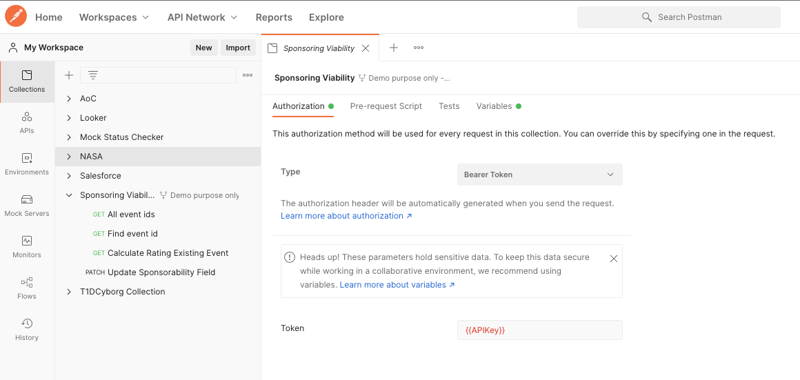
In general, you should store API keys in a dedicated environment, and, if you're going to share your environment, also only as "Current Value".
8. In the request builder, head over to the Variables tab.
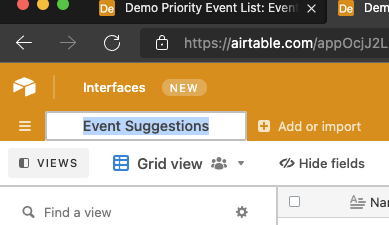
As you will need to update "AirtableId" and Table variables with your Airtable ID from the URL and the name of your table.


You can leave the variable Event Name as is. If you're batch processing all entries in Airtable, setting this variable initially doesn't do much.
9. SAVE.
You have to select 💾 or Control-S/Command-S in the request builder to make these changes take effect.
10. Up next is to run the collection in Runner.
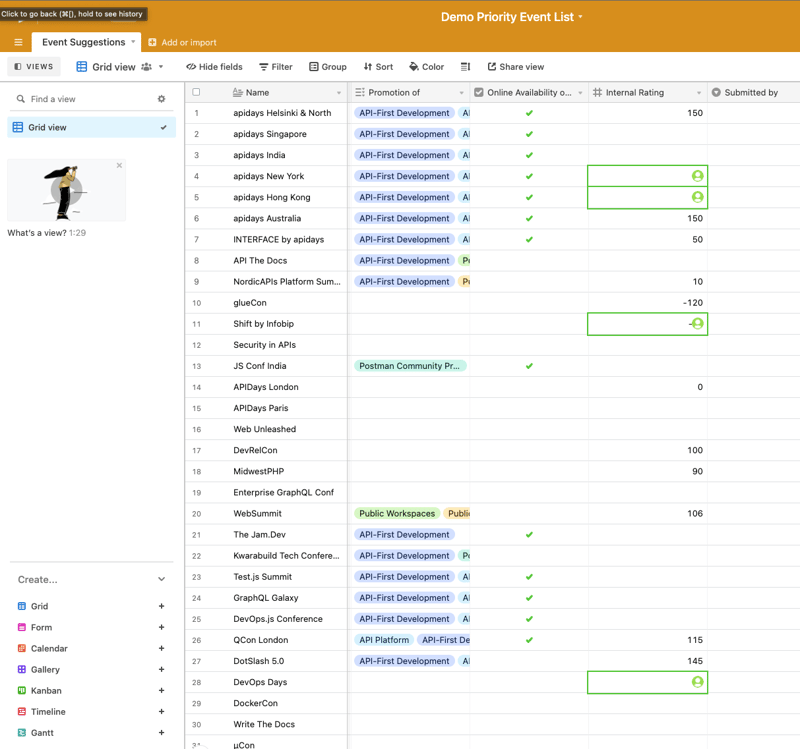
YAY! Cross your fingers. Buckle up. If everything went ok, we'll see some results being magically populated in Airtable in a moment.
Select the Run button next to the request URL field, between "Share" and "💾".
11. We're done! Not quite yet.
There's still plenty to fine tune. But you got it working!
You can now go back and complete your request form, that probably only has a few questions on it. Make sure to re-connect with Airtable as in step 5.
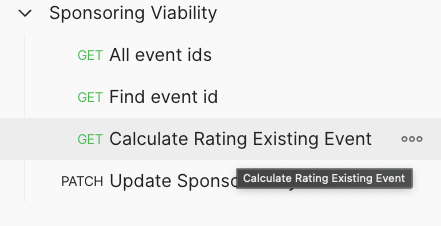
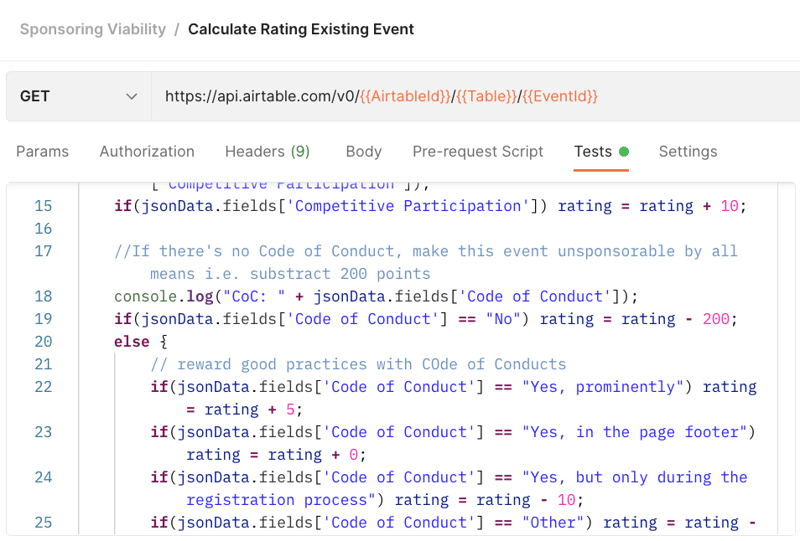
Bonus points for taking a look into the "Calculate Rating Existing Event" request. All of the calculation is happening in the "Tests" section of this request.
But that's a different story and will be covered in a separate article soon.
Happy rating, and don't forget to make this only one factor of your decision on contributing to an event or not.
Jan

