Demo is here. Source code is here.
Use <button>
Please don't use <a> for buttons. They have different meaning and behaviour. Link responses to Enter key (will trigger onClick action), <button> responses to Space. If user focuses on <a>, which is styled as button and uses Space page will be scrolled instead of action. <a> used for navigation, user can Ctrl/Cmd click it, to open in new tab. <a> is not focusable in Firefox. What I try to say <a> and <button> has quite big difference in behaviour and semantics.
<button type="button">
  <span role="img" aria-label="unicorn">
    🦄
  </span>{" "}
  Button
</button>
You should be able to use <button> everywhere, but if you want something else you can use <div role="button" tabindex=0> as well. There is <input type="button" /> if you want something old-school.
If using
role="button"instead of the semantic<button>or<input type="button">elements, you will need to make the element focusable and have to define event handlers for click and keydown events, including the Enter and Space keys, in order to process the user's input. See the official WAI-ARIA example code.
-- MDN
Reset styles
<button> comes with predefined styles, but if we want to customize it we can start with resetting styles
/* reset button styles https://css-tricks.com/overriding-default-button-styles/ */
button {
  border: none;
  padding: 0;
  margin: 0;
  /* not needed in modern browsers */
  -webkit-appearance: none;
  -moz-appearance: none;
}
Initial style
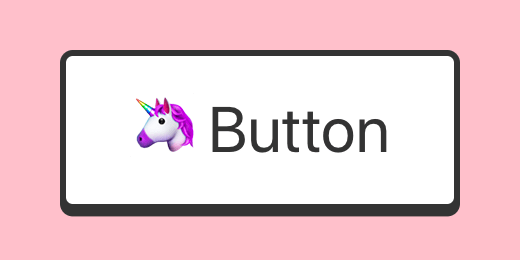
Let's make our button look like a button
<button type="button" className="button">
/* inspired by https://codepen.io/liamj/pen/vvdRdR */
.button {
  --color-dark: #333;
  --color-light: #fff;
  display: block;
  position: relative;
  font-size: 2rem;
  padding: 1rem 2rem;
  border-radius: 0.4rem;
  background: var(--color-light);
  color: var(--color-dark);
  border: 0.2rem solid var(--color-dark);
  box-shadow: 0 0.2rem 0 0 var(--color-dark);
}
Active state
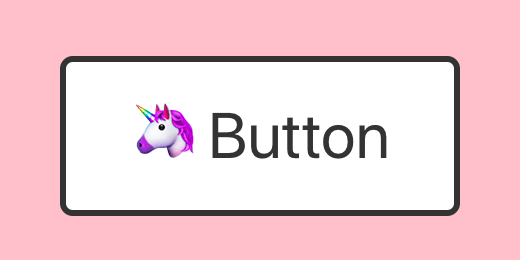
The button should provide active state, so a user would know that the button responds to click.
.button:active {
  top: 0.2rem;
  box-shadow: none;
}
Disabled state
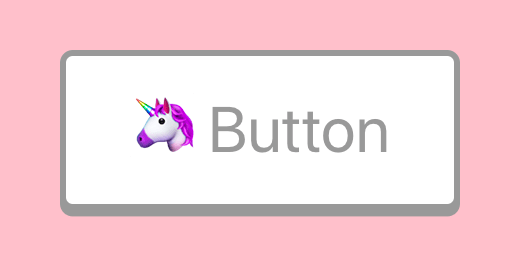
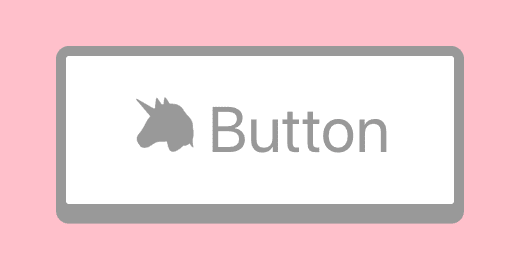
The button should provide disabled state, so a user would know that button is not clickable.
<button type="button" className="button" disabled>
.button:disabled {
  --color-dark: #999;
  cursor: not-allowed;
}
Almost there, but Emoji doesn't change color.
.button:disabled {
  --color-dark: #999;
  cursor: not-allowed;
  /* see https://www.bram.us/2016/10/06/emoji-silhouettes-and-emoji-outlines-with-css/ */
  color: transparent;
  text-shadow: 0 0 0 var(--color-dark);
}
Firefox will, unlike other browsers, by default, persist the dynamic disabled state of a
<button>across page loads. Setting the value of the autocomplete attribute to off disables this feature. See bug 654072.
-- MDN about button
Focus state
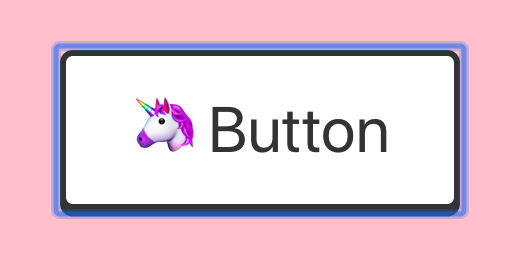
The button should provide a focused state, so a user would know where is the focus, otherwise, the user would need to guess or tab to closest element which provides focus. There is a focus state out of the box provided by the browser:
Chrome:
Firefox:
Safari:
In Safari buttons are not "tapable" 🤦
Customize focus state
Let's remove default focus state:
/* https://fvsch.com/styling-buttons/ */
.button:focus {
  outline: none;
}
.button::-moz-focus-inner {
  border: none;
}
Don't remove the outline unless you provide alternative
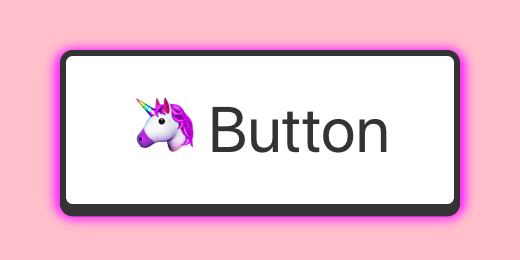
Let's add custom outline:
.button:focus {
  outline: none;
  box-shadow: 0 0.2rem 0 0 var(--color-dark), 0 2px 5px 3px #f0f;
}
Focus state + active
Because we use box-shadow for both :active and :focus they can conflict and we need to take care of special case:
.button:active:focus {
  top: 0.2rem;
  box-shadow: 0 0px 6px 4px #f0f;
}
Focus state for keyboard users only
There is no need to show focus for mouse users, it is only useful for keyboard users. So there is a proposal to add :focus-visible state to do that. Meantime we can use a polyfill or implement this functionality ourselves.
import "focus-visible";
.js-focus-visible :focus:not(.focus-visible) {
  box-shadow: 0 0.2rem 0 0 var(--color-dark);
}
.js-focus-visible :active:not(.focus-visible) {
  top: 0.2rem;
  box-shadow: none;
}
Touchscreen
The touchscreen has special requirements for buttons as well
Minimum size
According to many sources (1, 2, 3) size of button on touch devices should be about 1cm.
button {
  min-width: 1cm;
  min-height: 1cm;
}
As well there should be enough space around adjacent buttons to prevent wrong button clicks.
Active state for touchscreen
When the user taps the button on touch device they cover the button with the finger, so they can't see the active state of the button. So they need a special active state which will be visible sometime after they take off the finger. For example, the Material design uses a ripple effect for this.
button {
  user-select: none;
  /* we need to remove the built-in effect */
  -webkit-tap-highlight-color: rgba(0, 0, 0, 0);
}
Let's create our own after tap effect
/* https://css-tricks.com/touch-devices-not-judged-size/ */
@media (hover: none) {
  /* inspired by https://codepen.io/numerical/pen/XJKeop */
  .button ::after {
    content: "";
    display: block;
    height: 100px;
    position: absolute;
    transform: translate3d(-150%, -50px, 0) rotate3d(0, 0, 1, 45deg);
    width: 200px;
  }

  .button.active ::after {
    background-image: linear-gradient(
      to top,
      rgba(255, 0, 255, 0.1),
      rgba(255, 0, 255, 0.9)
    );
    transition: all 2.2s cubic-bezier(0.19, 1, 0.22, 1);
    transform: translate3d(120%, -100px, 0) rotate3d(0, 0, 1, 90deg);
  }
}
And a bit of JS to toggle class after mouse up
const Button = ({ children }) => {
  const [activated, setActivated] = React.useState(false);
  return (
    <button
      className={"button" + (activated ? " active" : "")}
      onMouseDown={() => setActivated(false)}
      onMouseUp={() => setActivated(true)}
    >
      {children}
    </button>
  );
};
PS
I made it with React, but it can be achieved with plain HTML and CSS as well. I hope your main take away will be UX of a button, not the code itself.

