- Deploy a Static Website to S3
- Distribute your S3 Bucket with Cloudfront and add a Domain
- Micro Services using Lambda, DynamoDB & API Gateway
In this part, we're going to add CloudFront to deliver our website content with low latency to the user. Afterward, we'll add a domain with HTTPs for our website.
So let's jump right into it.
Go to the AWS Management Console and open the service CloudFront. Then Click on Create Distribution
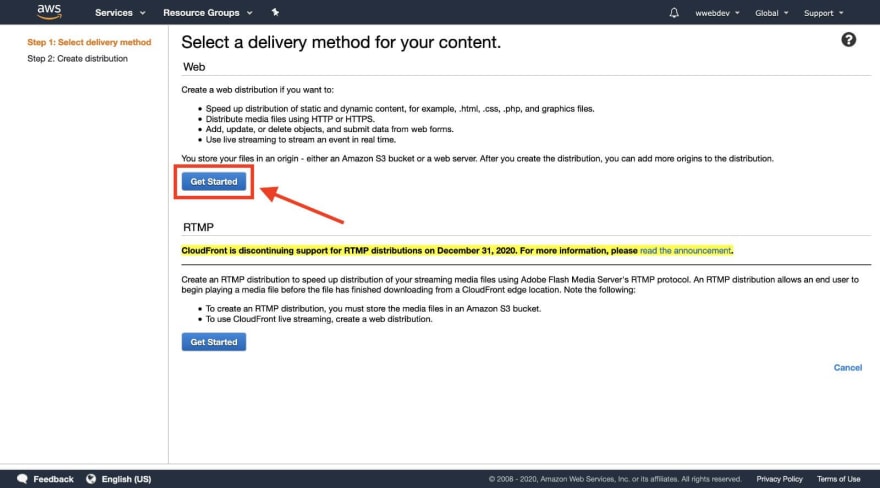
Now click Get Started under the delivery method Web
On the Origin Settings, the field Origin Domain Name is already pre-filled with your S3 Bucket as an option. But as we already added Static website hosting to our bucket, we don't want to use the direct link to our bucket in this field. Instead, we have to provide the URL of our bucket.
So open a new tab, go to the S3 service and open your bucket. Then copy the URL from the bucket properties and paste it into Origin Domain Name.
Most of the fields should be already filled now.
Scroll down and enable Compress Objects Automatically. This will enable gzip compression for your content.
Then add the Default Root Object. This is the entry point of your website. For me that is index.html. Afterward, you can click Create Distribution.
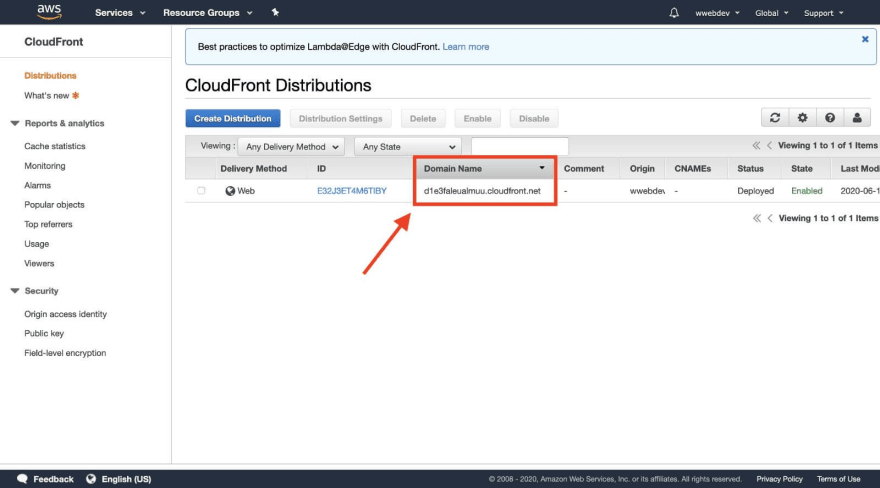
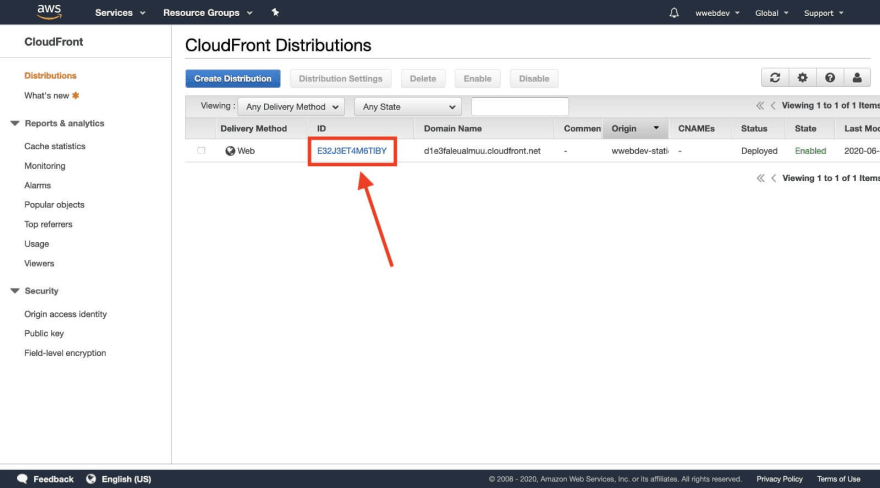
It will take a moment until your distribution is created. When it's done, you can open the domain, which you can see in the list.
For more details on your CloudFront distribution, you can click the ID. You can also set the error page there if you want to.
If you now deploy to your bucket again, you'll notice, that the content won't change. This is because CloudFront is caching your content. To invalidate the cache you have to run following command in your console:
aws cloudfront create-invalidation --distribution-id=YOUR_DISTRIBUTION_ID --paths /
Where you have to replace YOUR_DISTRIBUTION_ID with the ID of your CloudFront distribution.
Add a domain with HTTPs
If you don't have a domain yet, you can buy one on the AWS service Route 53. Otherwise you can skip this step. Don't worry if your domain is sitting somewhere else then Route 53. I'll also go through the process for that as well.
I won't go into detail about the purchase process. Choose a domain name and then follow the steps.
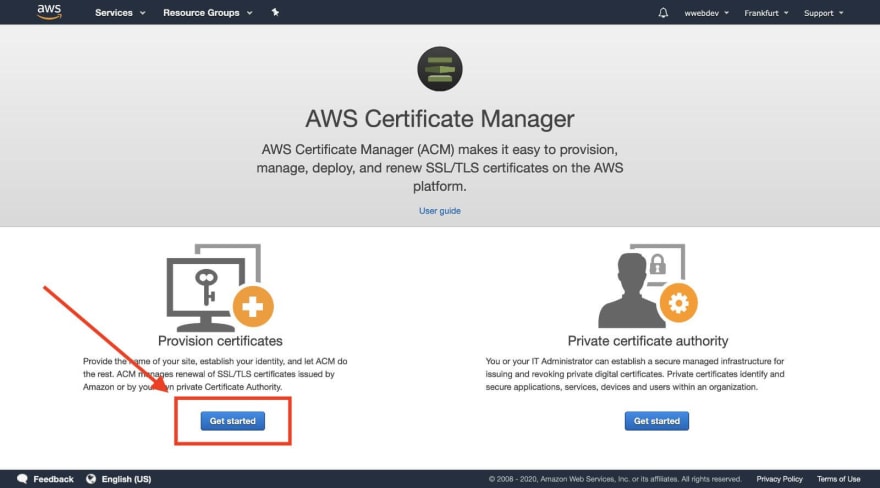
Next, go to the certificate manager to get an SSL certificate for your website.
Before clicking Request public certificate, make sure you switch regions to us-east-1. This is necessary, because CloudFront only supports the US East region for certificates.
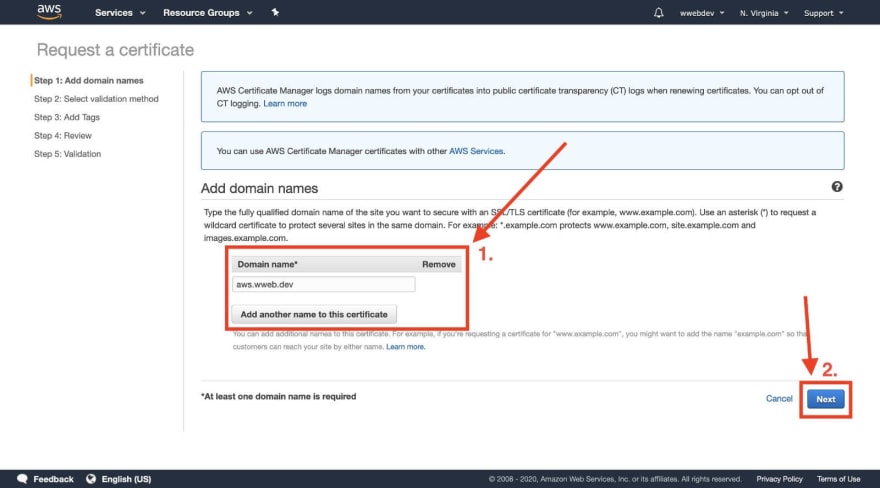
Then continue and enter the domain you want to use on the next page. You can also use multiple ones like
-
wweb.dev -
*.wweb.dev
With this, you will secure the main domain, as well as www.wweb.dev and all sub-domains.
I will go for only adding a certificate for the specific sub-domain aws.wweb.dev
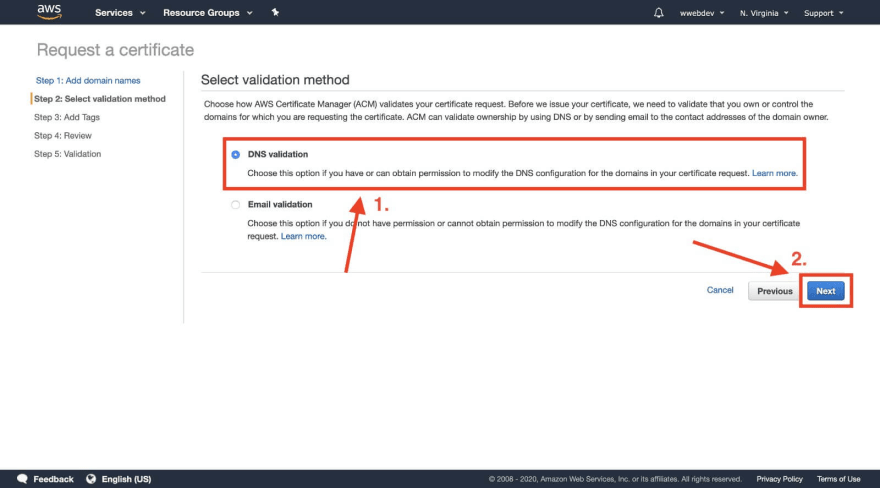
Afterward, I'll go for DNS validation. This has some advantages over Email validation, like automatic renewal of the certificates.
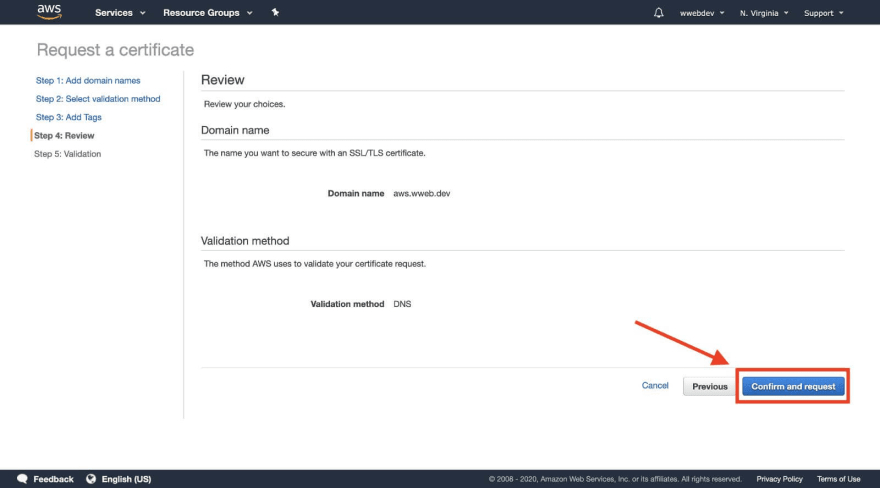
Click Next. We can skip setting tags, so click Review on the next page. On the following page, you can click Confirm and request if the data you see there is correct.
On the next page, expand your domain by clicking that small arrow next to it. Here we have two options, depending on your domain being hosted on Route53 or not.
Option 1) If your domain is hosted on Route 53 you will see a button, saying Create record in Route 53. Click that button. Then in the modal, hit Create.
Option 2) If you have your domain somewhere else it will look like this:
Now you have to go to your domain provider and open the DNS settings. There you have to create a new CNAME record for your domain.
How you create the CNAME record might differ for different providers. I had to remove the main domain from the host (.wweb.dev) as this is appended automatically by Namecheap (where I have my domain).
You have to do this for all the domains you've added.
Now, wait until the status of your certificate turned to Issued. This can take 5-10 minutes.
Add your domain to CloudFront
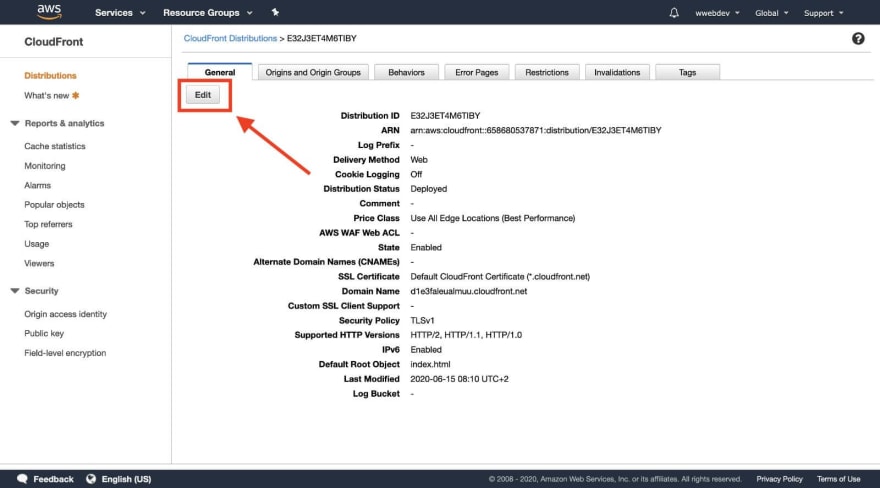
Go back to your CloudFront distribution. Go into the distribution details by clicking the ID and then click the Edit button.
Add the domain to Alternate Domain Names. Then click on Custom SSL Certificate and select your new certificate from the dropdown.
Afterward, scroll down and hit Yes, Edit.
Now let's create a redirect from HTTP to HTTPS. Therefor go to Behaviours, select the behavior on top and click Edit.
In the edit view, select Redirect HTTP to HTTPS and then again scroll down and click Yes, Edit.
Now as the last step we need to point our domain to CloudFront. Here we have two possible options again. You either have your domain on Route 53 or you have it hosted somewhere else.
Option 1) Route 53
Go back to the Route 53 service. Then select Hosted zones in the left menu and click on your domain.
Now click Create Record Set. A menu on the right will open. You can leave the Name blank if you want to use your main URL. You can also use www or a subdomain in that field.
Select Yes for Alias. Then select your CloudFront distribution in the menu for the Alias Target.
You can add IPv6 support by creating another record with the same settings, but with AAAA - IPv6 address as the type.
Option 2) Other Providers
For any other provider, you have to create another CNAME DNS entry. This one should point from your domain to the CloudFront URL. For example, on Namecheap, it would look like this for my aws subdomain.
For both options, it may take up to an hour until the new DNS is applied.
Then your Domain should be set up correctly and point to your CloudFront.
In the next and last part of this series, I'll show you how to create a microservice with AWS Lambda, DynamoDB, and the API Gateway.
Did you had problems following along at some point? Please let me know, so I can improve this tutorial :)


