If you're interested in generative AI, you've likely seen tools like Runway that generate video from an image. They're cool tools. Some of you, like me, want to run these tools for ourselves and have them on our personal machines.
If that's you, you've come to the right place. We're going to install a tool to generate AI videos today. Stable Video Diffusion was just released, and we're going to try it out.
What we'll do:
- Install some pre-requisites
- Configure our system for Stable Diffusion Video
- Install the Stable Diffusion tools and checkpoints, and run it all with Streamlit.
- Generate this video
In this tutorial, I'm using Linux and Anaconda to run this. The directions should be the same for Windows or Mac.
If this is your first time doing this kind of thing, don't worry. We'll start by setting up your environment with the right tools and dependencies and installing a few things. We aren't going to dive too deep into how this product works. We'll just install it and try it out.
Step 1: Install Dependencies
We're going to grab this repo from Stability AI.
git clone https://github.com/Stability-AI/generative-models.git && cd generative-models
Next, we'll create a virtual environment. It's essential to use Python 3.10. For some reason, it was fussy with the newer versions.
conda create --name stablevideodiff python=3.10.0
conda activate stablevideodiff
And then install all the requirements:
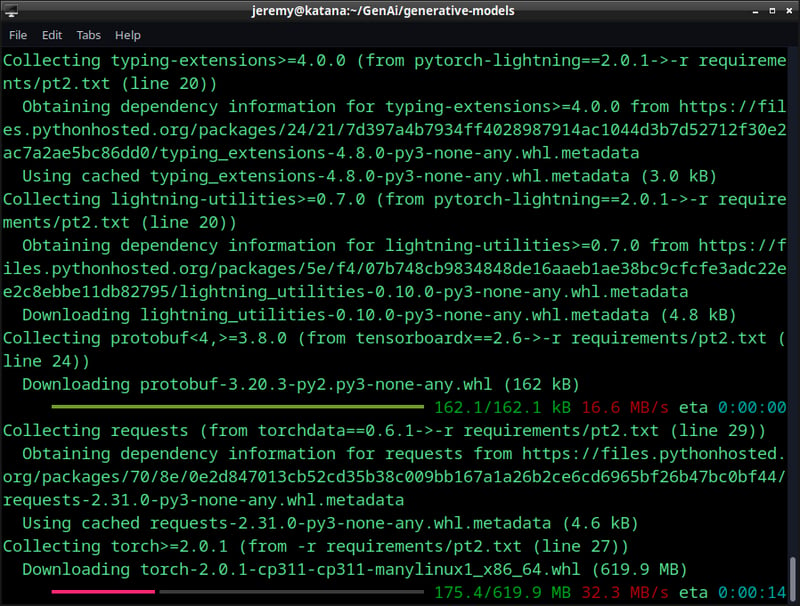
pip3 install -r requirements/pt2.txt
And you'll see all the dependencies get installed:
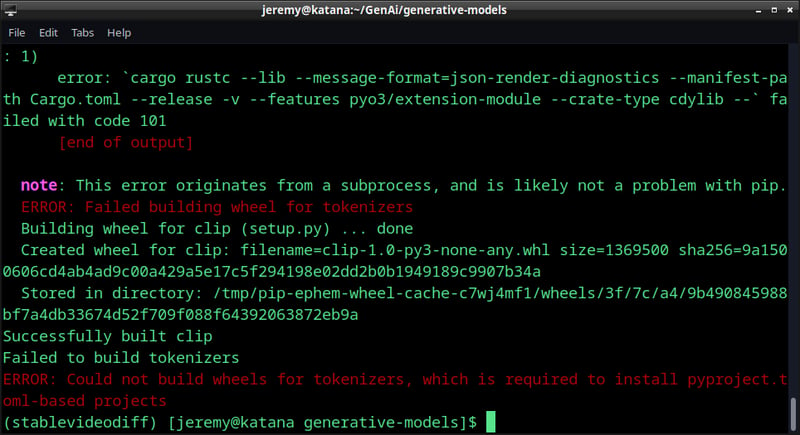
But you may see an error like this:
ERROR: Could not build wheels for tokenizers, which is required to install pyproject.toml-based projects
This is sometimes due to the lack of a RUST compiler. You can install it with this command (in Linux):
curl --proto '=https' --tlsv1.2 -sSf https://sh.rustup.rs | sh
Once it's done installing you should see no errors.
Step 2: A couple of finishing touches
First, in your application folder (generative-models) type in the following.
pip3 install .
Then we want to install sdata for training:
pip3 install -e git+https://github.com/Stability-AI/datapipelines.git@main#egg=sdata
And now we're just about ready to let this thing cook.
Step 3: Running the Demo
Ok, now you want a demo.
Log in to Hugging Face. You can create an account for free if you don't have one.
You will need to download svd.safetensors to the /checkpoints directory. If it's not there, create a directory named checkpoints at the base of the app.
Note: I am running an RTX 4090 with 24G VRAM and have 64GB of RAM on the PC. I still had to do this:
export 'PYTORCH_CUDA_ALLOC_CONF=max_split_size_mb:512'
This helps with memory allocation as you run it, so you aren't as likely to run out of memory. I did a few times before playing with it.
Now we can fire up the web app:
PYTHONPATH=. streamlit run scripts/demo/video_sampling.py --server.port 8080
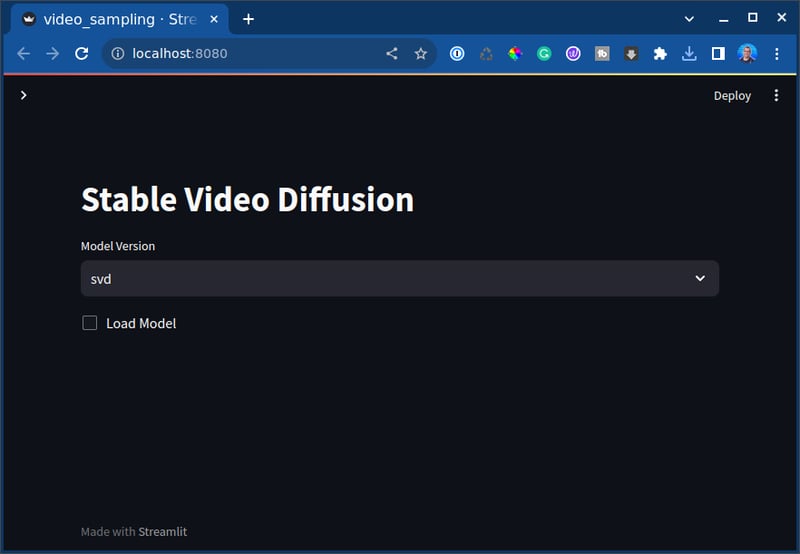
In your browser, you should see this:
So let's try it out. Click "load model".
It will start running.
Then you'll see this message:
Awesome,
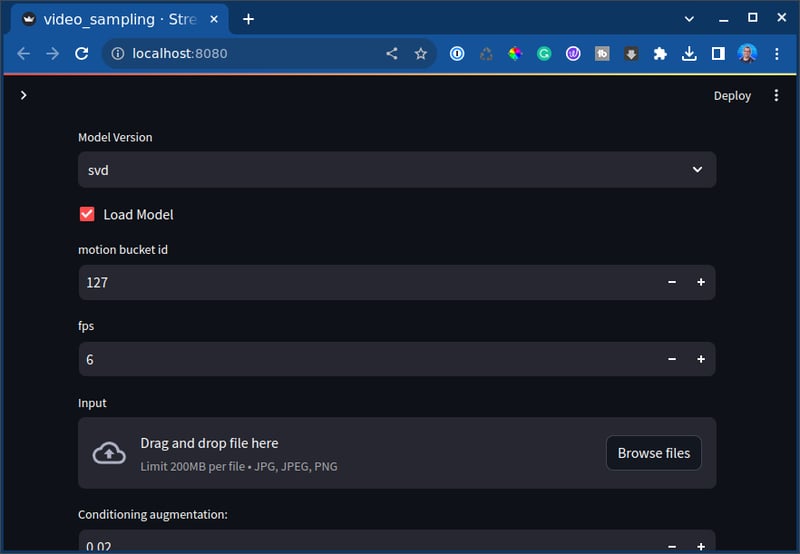
Now I'll load up an image sample using the "Browse files" button you see above.
And I want to set this to a lower value of 2, so I don't run out of VRAM. Again, I have 24G to work with, but I must be careful. Pytorch is happy to use all the memory for this.
and then click sample. You will see it start to work:
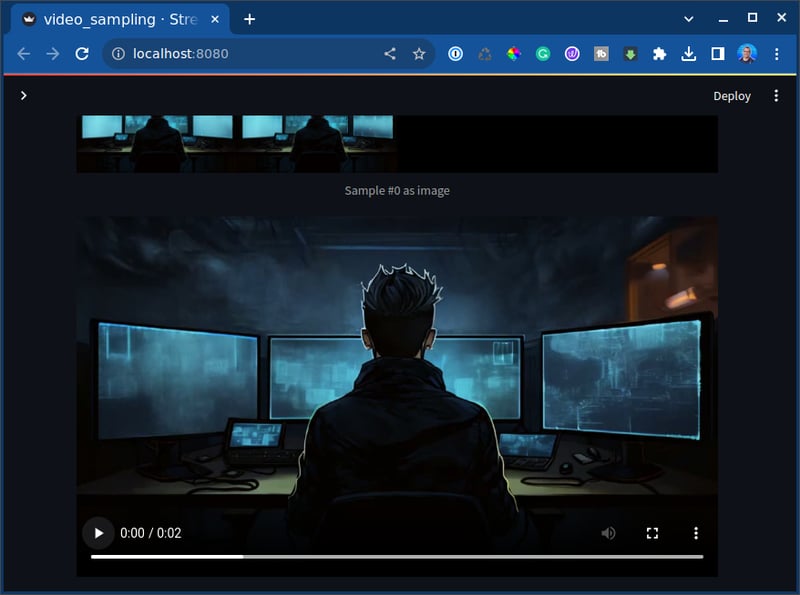
And there we have it!! We produced a video.
It's only 2 seconds long but pretty awesome. You can download it here
I love it and can't wait to do more of these.
What did we make?
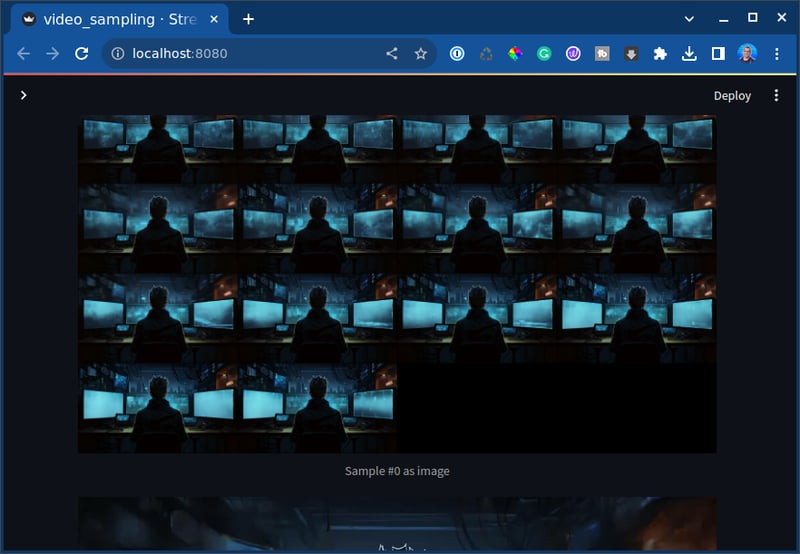
So here, I generated exactly 14 frames from an image. It's 2 seconds, 7 frames per second.
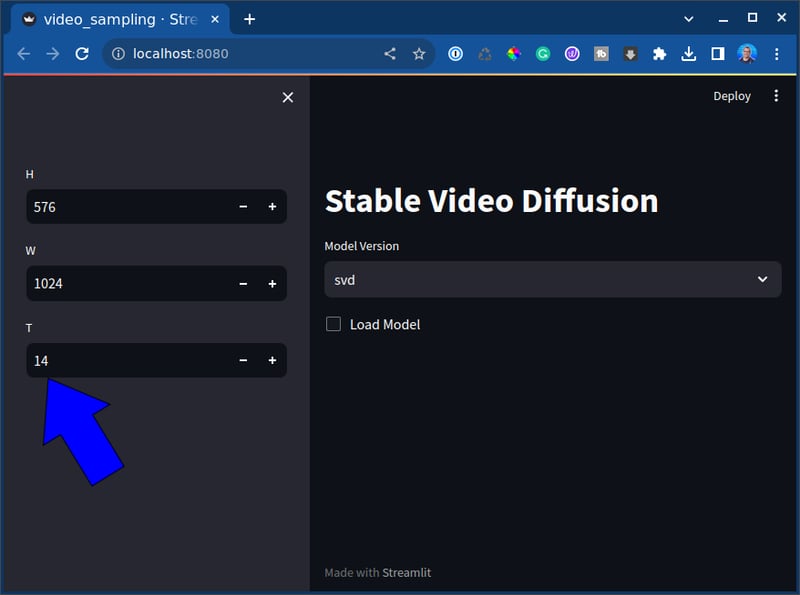
You can change that setting here:
You can set how many frames total you can generate. I've managed to get up to 3 seconds but ran out of VRAM.
Your results may vary.
Conclusion
Congratulations, you did it! This tutorial taught us how to set up an environment for Stable Video Diffusion, install it, and run it. This is an excellent way to get familiar with generative AI models and how to tune Stable Diffusion. You can produce some awesome stuff by getting to know your way around. Experiment with different settings, frames, and images to see how you can push the boundaries of this thing. Your results may vary based on hardware limitations. I'm running a 4090, as I mentioned, and it's still getting taxed. But like with all these things, it's about the learning experience.
What are you doing with Stable Diffusion or Generative AI today? Let me know! Let's talk.
Also, if you have any questions or comments, feel free to reach out.
Happy hacking!

