What is Helm ??
Helm is the first application package manager running atop Kubernetes. It allows describing the application structure through convenient helm-charts and managing it with simple commands.
Helm provides the same basic feature set as many of the package managers you may already be familiar with, such as Debian’s apt, or Python’s pip.
Helm can:
- Install software.
- Automatically install software dependencies.
- Upgrade software.
- Configure software deployments.
- Fetch software packages from repositories.
Helm helps you to manage Kubernetes applications. Helm Charts helps you to install, manage and upgrade even the most complex applications. Helm is a third part tool that manages K8s package.
Package in Kubernetes is known as Charts. Either we can download Charts from some repository or we can create our own custom chart.
In this article we will create own custom chart.
For this Interesting We'll use AWS Cloud for setting up Kubernetes Master and Kubernetes Slave. If you are interested in setting up this cluster you can read one of my another blog.
Here We'll integrate Jenkins with Helm.
Installing Helm
We have to install Helm in client side. Most common and preferred way is to install it from binary.
Here you will find the link for downloading the binary of Helm Version 3
https://get.helm.sh/helm-v3.5.2-linux-amd64.tar.gz
Copy the directory linux-amd64/helm to /usr/bin/
We can check the version of Helm by the below command.
helm version
After setting up K8s Cluster let’s start creating our own custom charts. Create a workspace where we will create Charts.
Configuration file for the chart is Chart.yaml. We have to create Chart.yaml and it is compulsory to have capital ‘C’ in Chart.yaml.
Content inside Chart.yaml is as follows
Create template directory inside your workspace.
Next we can create deployment.yaml by the command provided below. In this deployment code we are using the Jenkins image. The yaml code for deployment.yaml will look like as below
Now Let's install the helm chart.
Let’s check whether the pods are running or not? and also we can check is 'none' services running apart from kubernetes of type Cluster-Ip.
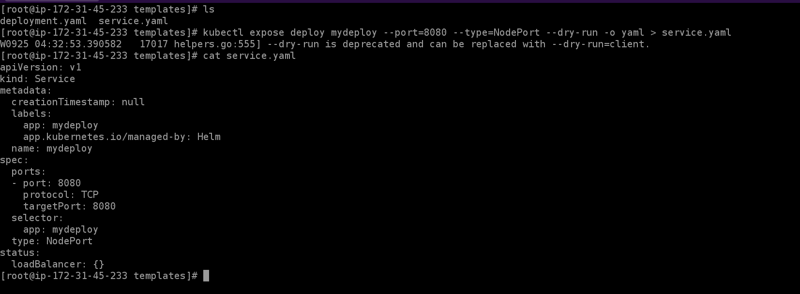
Now we will expose the Jenkins server and the service.yaml is as below.
Let’s see the new services has launched or not?
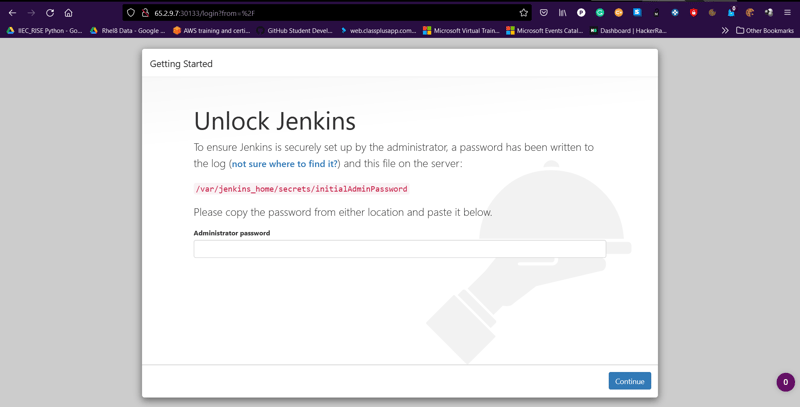
Now we can check that our Jenkins server is publicly accessible or not. By hitting to the "http://public_ip_address:exposed_port"
For getting the password of running Jenkins server, we will do login inside the pod and view the file that contains the Jenkins server password.
Location of the password file is /var/jenkins_home/secrets/initialAdminPassword
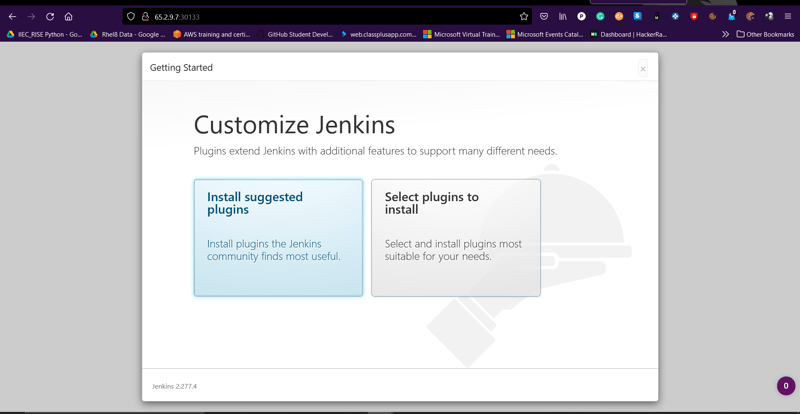
Now from the above file we can copy the password and paste it in the above displayed page.
Voila, We did it, Now further you can configure it according to the requirements.


