Welcome to the AWS DeepRacer - Training a Model brick. In this guild we'll go through setting training your very own DeepRacer model from scratch. You don't need to be an expert either!
Prerequisites
An AWS Account is all you should need for this tutorial.
Note: There will be some costs associated with training. These costs are very minimal (less then $2.00) though, and will likely be covered under the Free-tier if you have a new account.
Setting up your Account
The very first thing I recommend doing is to navigate to the AWS DeepRacer console in the us-east1 region and click on Get started under Reinforcement learning.
We will now work down the list of requirements that will help us train a new model. Step 0 is have AWS reset/create some background resources that will be needed to allow AWS DeepRacer to function.
If this is not the first time working with DeepRacer, you might have ❌'s next to the resources. If this is the case then click Reset resources.
Once the resources have been reset, you will be able to click Create resources next which should eventually turn to ✅'s when completed
Note: This process can take up to 5 minutes to complete
Create a model
We're up to the fun bit in the tutorial where we can train our very first model. To get started, click Create model under the Get started section.
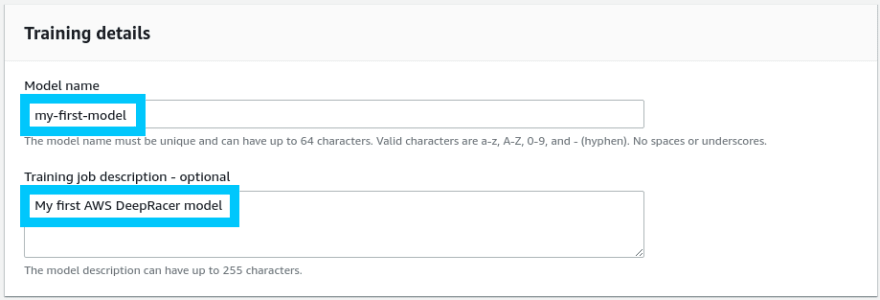
Start by giving your new model a name and description. The name of the model must be unique to your account.
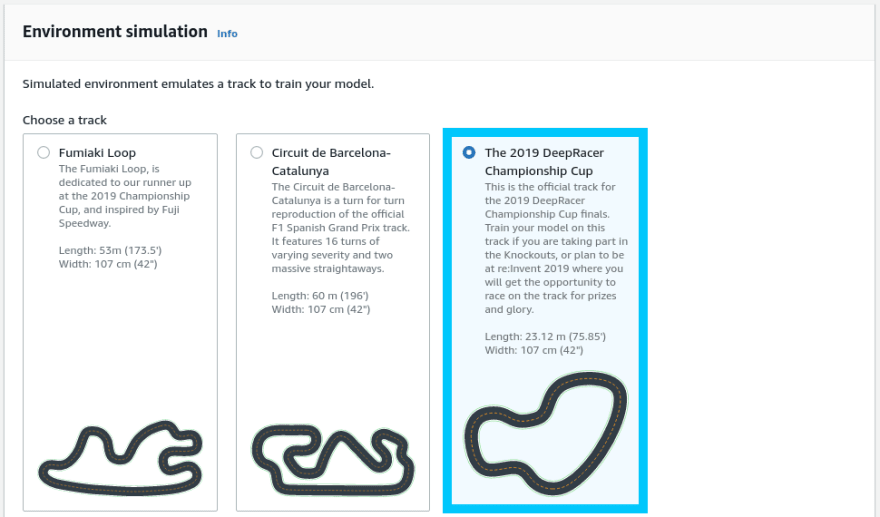
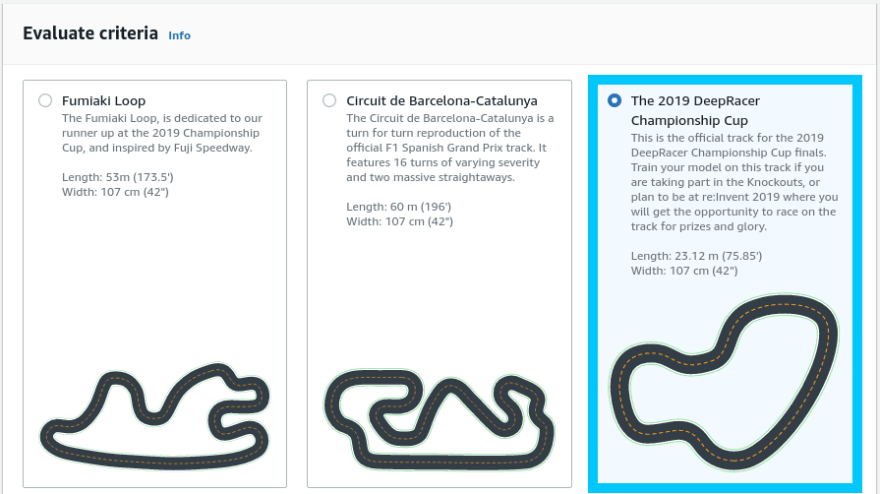
Under environment simulation, select The 2019 DeepRacer Championship Cup
Note: If you have a reason to train your model for any of the other tracks, definitely select the one that seems most appropriate for you.
Click Next at the bottom of the page to move onto Step 2.
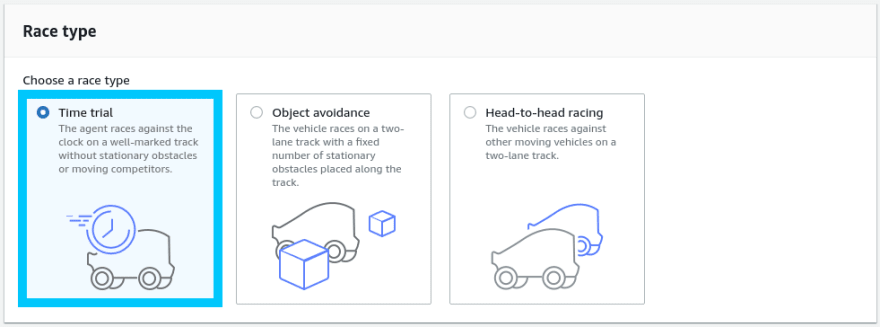
In this step we now need to define what kind of race type we would like to train for. Given we're training for just a normal timed race, select Time trail.
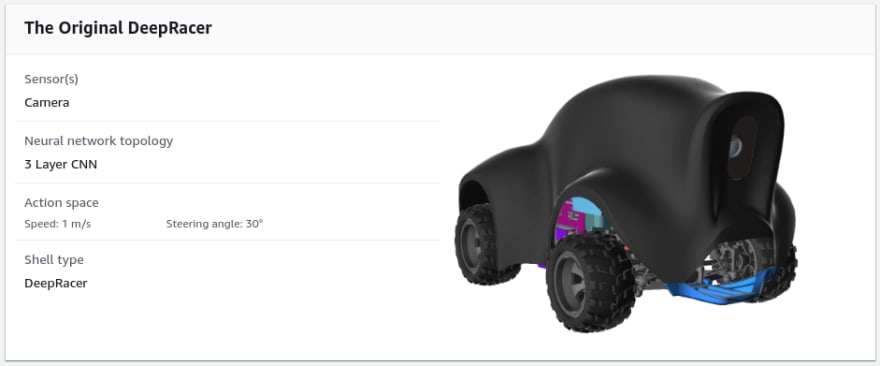
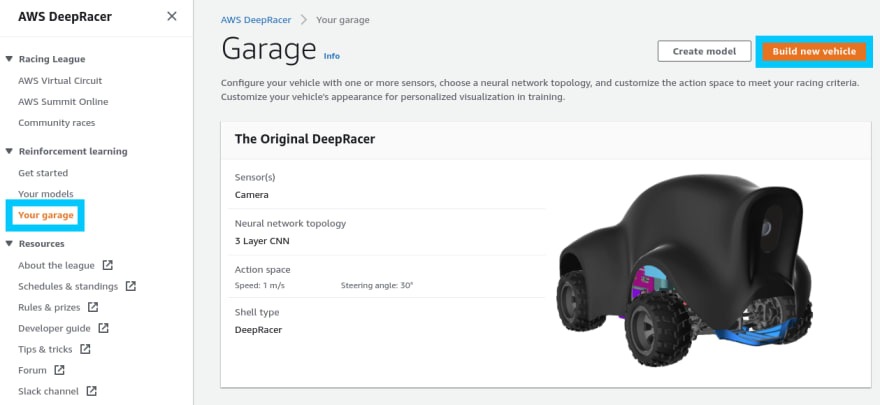
Selecting your Agent (Car type) is next, and this is where the guide can start to become more interesting if you want it to be. By default you can choose to train with The Original DeepRacer agent which has the following specs
If you are interested in creating a brand new agent (vehicle) from scratch, then move through the next section Creating an Agent. Otherwise, feel free to select The Original DeepRacer and skip to Reward function.
Creating an Agent [Optional]
We're going to move away from the guide AWS provides us for a second to create our very own Agent. An agent in the context of DeepRacer is the car that drives around the track.
Navigate to the Your garage menu under Reinforcement learning and you should be able to see the The Original DeepRacer agent that is created for you.
This default agent has all the default settings applied, and only uses one camera as its input for information. To understand what I mean by inputs, lets walk through creating a new vehicle by clicking Build new vehicle*.
Note: It is best to understand what kind of track you will be racing on before you create your agent. This is because the track type will heavily influence what types of input data might be considered important when training your model.
You will be presented with a number of options for modifying your agent. Since we picked The 2019 DeepRacer Championship Cup track, lets use it as a foundation for deciding how to build our vehicle.
The first part of designing our vehicle is to select the modifications. We have options for a variety of different camera setups and even the addition of LIDAR.
To keep things simple for now though we're going to stick with the single Camera setup.
Having more information from two cameras can be useful, but only if you write a fantastic reward function to use that data in a meaningful way.
For the Action space we're able to select a variety of different steering & speed optimizations. These variables give the vehicle more or less control over how far it is able to turn, and the speed in which it can move.
Lets breakdown the information we have into some assumptions:
- Taking a look at the type of track we are racing on, note that there aren't any hairpin turns or anything that could benefit from having a high degree for steering angle.
- Long stretches of track that could benefit from a higher then normal top speed.
- 8 opportunities for turns and none of them are particularly wide.
Note: The action list is a set of actions the vehicle can take at any point in time. Sometimes having less available actions can be more beneficial for simpler courses.
Here is an example of my desired Action space. Feel free to tinker with these settings, and try something different yourself.
Finally, click Next and you'll need to name your vehicle something unique, along with giving it some cool colors
Click done when you are happy with the car and then head back to the Create model part of the guide. Select your brand new Agent from the list and hit Next.
Reward function
The Reward function is the core of your model; It makes the decisions about what actions to take and when based on a set of (potentially complex) parameters. By default your reward function will look something like the following
def reward_function(params):
    '''
    Example of rewarding the agent to follow center line
    '''

    # Read input parameters
    track_width = params['track_width']
    distance_from_center = params['distance_from_center']

    # Calculate 3 markers that are at varying distances away from the center line
    marker_1 = 0.1 * track_width
    marker_2 = 0.25 * track_width
    marker_3 = 0.5 * track_width

    # Give higher reward if the car is closer to center line and vice versa
    if distance_from_center <= marker_1:
        reward = 1.0
    elif distance_from_center <= marker_2:
        reward = 0.5
    elif distance_from_center <= marker_3:
        reward = 0.1
    else:
        reward = 1e-3  # likely crashed/ close to off track

    return float(reward)
This is the simplest way to approach training a model, and for beginners I would recommend just training with it before trying to dive in too deep too fast.
Note: Reward functions & Hyperparameter tweaking is what makes any model GREAT. Once you have a good understanding of how things work, I recommend exploring these advanced settings in more detail. Watch out for future Bricks/Blog posts on these topics!
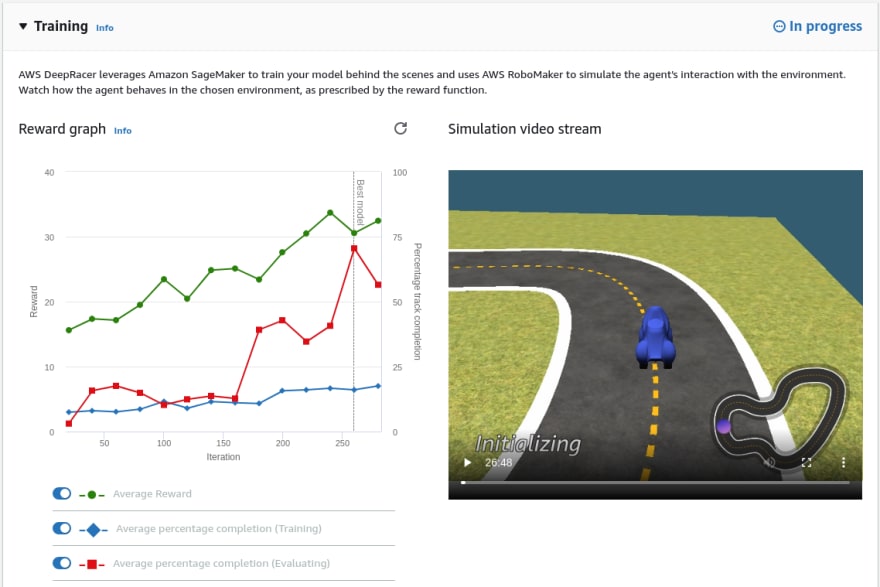
When you are ready to begin training, click Create model. The training process will take 60 minutes by default and you can watch how progression is going in the Simulation video stream.
Model evaluation
Once the training process is finished you will see a ✅ indicating its completion. We are now able to run an evaluation by clicking Start evaluation under the model.
When prompted for the Evaluate criteria, select The 2019 DeepRacer Championship Cup.
Under Race type select Time trial
For Virtual race submission, you can opt into competing in the 2020 June Qualifier Time trial. For this example however we will be opting out.
Click Start evaluation to kick off the ~4 minute job. While it is running, you'll be able to preview how your model is performing in the simulation video stream. This view also includes your lap results.
Summary
Congratulations on training your very first DeepRacer model! You can now start to build on your model and make adjustments. Once you have a winning model, you can even submit them to free community events and win prizes.
If you had any issues setting things up, or you have other questions, please let me know by reaching out on Twitter @nathangloverAUS or dropping a comment below.


