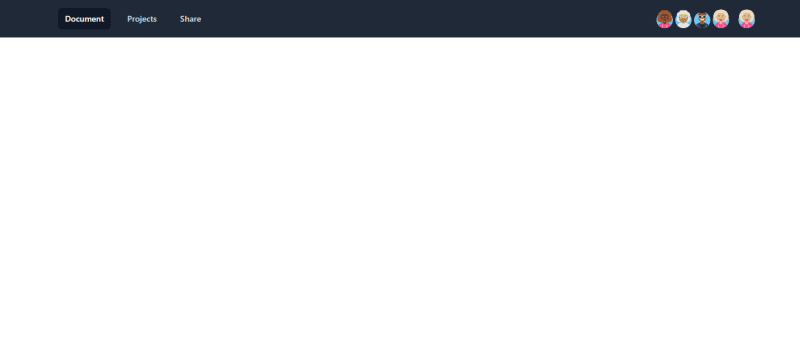
This article discusses building a real-time document contribution list using Appwrite's Realtime service with Next.js, subscribing to channels in our database, and displaying a list of users contributing to our document when changes occur in the channels.
GitHub URL
https://github.com/Tundesamson26/real-time-contribution-list
Prerequisites
The following are required to follow along:
- Knowledge of JavaScript and React.js.
- Docker Desktop installed on your computer; run the
docker -vcommand to verify your installation. If not, install it from the Get Docker documentation - An Appwrite instance running on your computer. Check out this article to create a local Appwrite instance; we will use Appwrite’s robust database and Realtime service to manage our application
- Experience with Next.js is advantageous but is not compulsory
Setting up the Next.js app
Next.js is an open-source React framework that enables us to build server-side rendered static web applications. To create our Next.js app, navigate to the preferred directory and run the terminal command below:
 npx create-next-app@latest
 # or
 yarn create next-app
After creating our app, we change the directory to our project and start a local development server with:
cd <name of our project>
npm run dev
To see our app, we then go to http://localhost:3000.
Installing Dependencies
Installing Avatar Generator
Avatar Generator is a package that helps generate random avatars from a free online service for anyone to easily make a beautiful personal avatar!
To install random-avatar-generator in our project, we run the following terminal command.
npm i random-avatar-generator
Installing Tailwind CSS
Tailwind CSS is a "utility-first" CSS framework allowing rapid creation of user interfaces for web applications. To install Tailwind CSS in our project, we run these terminal commands:
npm install -D tailwindcss postcss autoprefixer
npx tailwindcss init -p
These commands create two files in the root directory of our project, tailwind.config.js and postcss.config.js. Next, in our tailwind.config.js, we add the paths to all our template files with this code below.
module.exports = {
  content: [
    "./pages/**/*.{js,ts,jsx,tsx}",
    "./components/**/*.{js,ts,jsx,tsx}",
  ],
  theme: {
    extend: {},
  },
  plugins: [],
}
We should add the @tailwind directives for Tailwind’s layers to our ./styles/globals.css file.
//globals.css
@tailwind base;
@tailwind components;
@tailwind utilities;
Installing Appwrite
Appwrite is an open-source, end-to-end, backend server solution that allows developers to build applications faster. To use Appwrite in our Next.js application, install the Appwrite client-side SDK by running the following command:
npm install appwrite
Creating a new Appwrite project
Running a local Appwrite instance gives us access to the console. To create an account, we go to the local Appwrite instance on whatever port it is started on. Typically, this is on localhost:80 or is specified during Appwrite's installation.
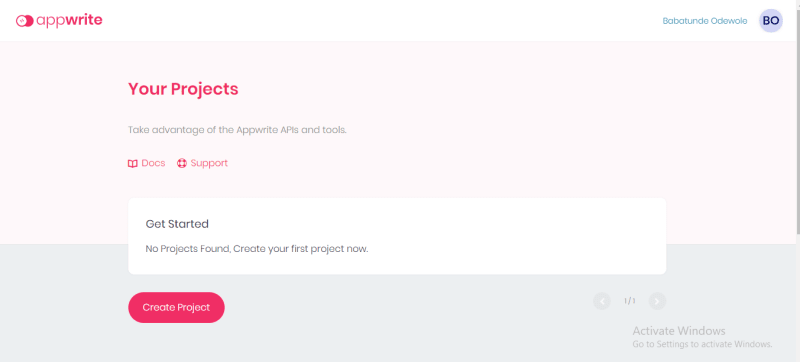
On the console, there is a Create Project button. Click on it to start a new project.
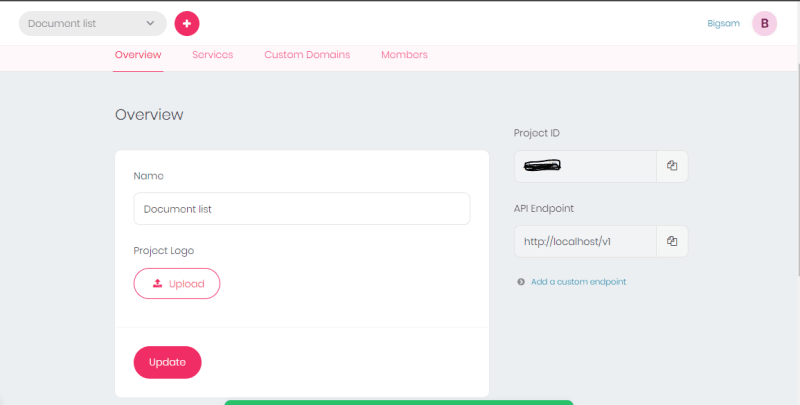
Our project dashboard appears once we have created the project. At the top of the page, click the Settings bar to access our Project ID and API Endpoint.
Now, we'll copy our Project ID and API Endpoint, which we need to initialize our Web SDK code.
In the root directory of our project, we create a utils folder, which will hold our web-init.js file. This file configures Appwrite in our application. Initialize the Web SDK in said file with:
// Init your Web SDK
import { Appwrite } from "appwrite";
export const sdk = new Appwrite();

sdk
    .setEndpoint('http://localhost/v1') // Your Appwrite Endpoint
    .setProject('455x34dfkj') // Your project ID
;
Creating a collection and attributes
Next, we'll set up our database to store our order status. In the Appwrite web Console, click on Database on the left side of the dashboard.
Next, create a collection in the database tab by clicking on the Add Collection button. This action redirects us to a Permissions page.
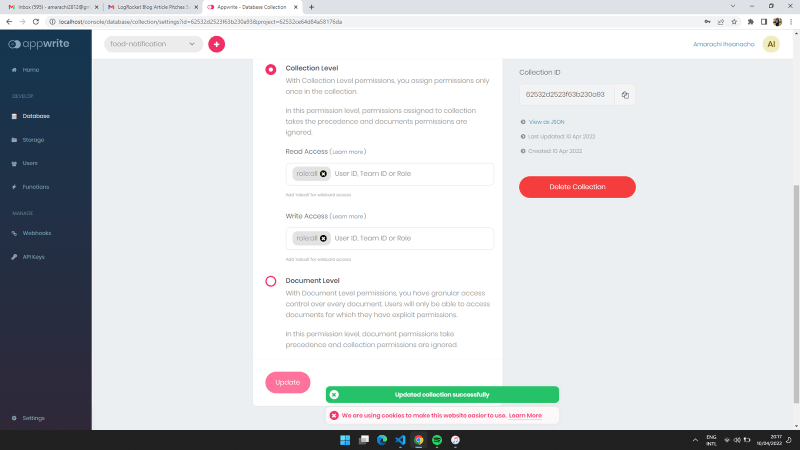
At the Collection Level, we want to assign a Read Access* and Write Access with a role:all value. We can modify the permissions to specify who has access to read or write to our database.
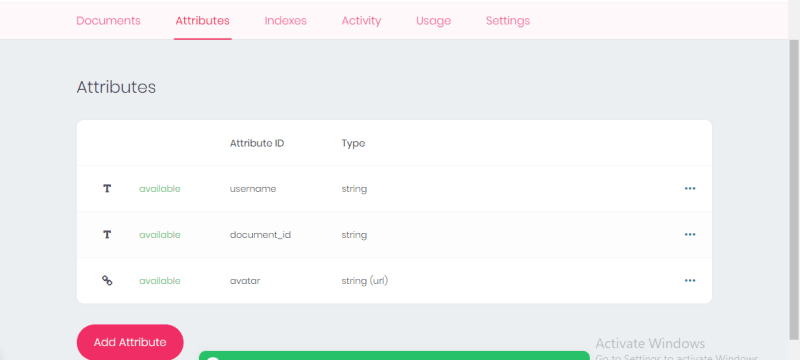
On the right of the Permissions page, we copy the Collection ID, which we need to perform operations on the collection’s documents. Next, go to the Attributes tab to create the properties we want a document to have.
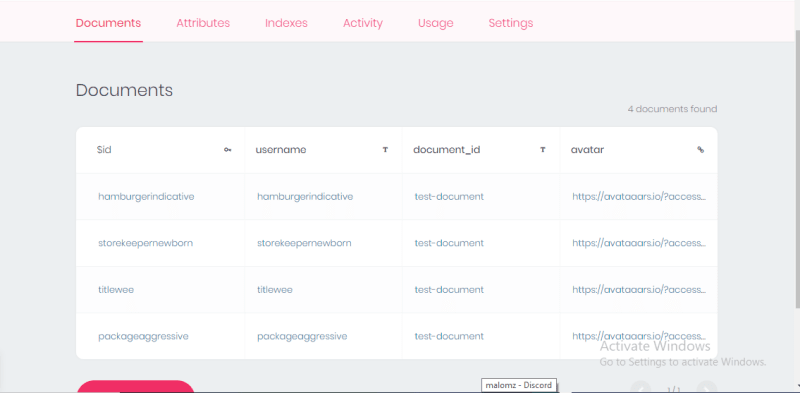
Now, create the string attribute of username, avatar, document_id.
Creating our document contribution application
Our document application will have a page with a navbar section to display the currently active users. This page will also subscribe to the document contribution list and displays its updates in real time. We create this document application with the GitHub gist below.
In the index.js, we did the following:
- Imported required dependencies and components.
- Implemented state variables to store the avatars.
- Rendered the document contribution interface.
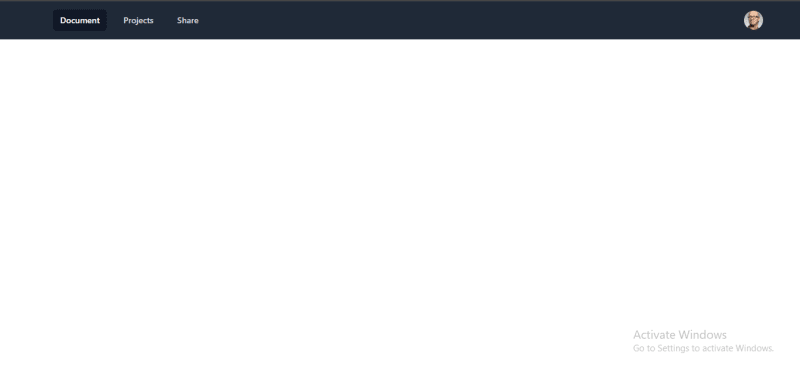
At this point, our application should look like this:
Creating an anonymous user session
Appwrite requires a user to sign in before reading or writing to a database to enable safety in our application. However, we can create an anonymous session that we'll use in this project. We'll do so in our web-init.js file.
// Init your Web SDK
import { Appwrite } from "appwrite";

export const sdk = new Appwrite();
sdk
  .setEndpoint("http://localhost/v1") // Your API Endpoint
  .setProject("yidfy733wnx"); // Your project ID
export const createAnonymousSession = async () => {
  try {
    await sdk.account.createAnonymousSession();
  } catch (err) {
    console.log(err);
  }
};
Generating random avatar
We need to generate a random avatar for each user that is currently active on our page using the Avatar Generator package we installed. First, import the dependency into the pages/index.js file.
import { AvatarGenerator } from 'random-avatar-generator';
We then write a conditional statement to check for the currently active users on the mount of our application using the React useEffect() Hooks.
useEffect(() => {
    if (!avatar) {
      const _avatar = localStorage.getItem("avatar") || AvatarGenerator();
      localStorage.setItem("avatar", _avatar);
      setAvatar(_avatar);
      console.log(_avatar);
    }
}, [avatar]);
Add interaction with our database
When a user is active on our page, we should be able to see a list containing the active user's avatar. This will create a document for the new user, automatically update our database with avatar, and then delete when a user exists on the page.
Creating database documents
We need to create a document that stores our list of users' avatars in the viewers' attribute.
In the pages/index.js file, we write an addViewer() function to create the document for new and active users.
const addViewer = () => {
    console.log("Adding user");
    sdk.database.createDocument([collectionID], userData.username, {
      username: userData.username,
      avatar: userData.avatar,
      document_id: "test-document",
    });
};
This addViewer() function above does the following:
- The
createDocument()method creates a document using the collection ID and data fields to be stored. This collection ID is the same ID we copied from our Permissions Page earlier. - Passed the username, avatar, and document_id as parameters.
Deleting database documents
We need to delete the user document immediately after they leave the page. This will delete the user's avatar from the list of active users contributing to our document.
In the pages/index.js file, we write a cleanup() function to delete the user immediately after leaving our page using addEventListener() and removeEventListener() in the React useEffect() Hooks.
useEffect(() => {
    const cleanup = () => {
      let promise = sdk.database.deleteDocument(
        [collectionID],
        userData.username
      );
      promise.then(
        function (response) {
          console.log(response); // Success
        },
        function (error) {
          console.log(error); // Failure
        }
      );
    };
    window.addEventListener("beforeunload", cleanup);
    return () => {
      window.removeEventListener("beforeunload", cleanup);
    };
 }, []);
This cleanup() function above does the following:
- Uses the
deleteDocument()method to delete a document using the collection ID and username. This collection ID is the same ID we copied from our Permissions Page earlier.
Subscribing to updates on the document
When a new user is active on our document contribution, we should be able to see their avatar and delete their avatar when they leave our page. This can be broadcast to everyone as an event in Realtime using the subscribe method.
useEffect(() => {
    // Subscribe to collection channel
    const _subscribe = sdk.subscribe(
      "collections.[collectionID].documents",
      (response) => {
        const { payload } = response;
        console.log(payload);
      }
    );
    return () => {
      _subscribe();
    };
}, []);
In the code block above, we do the following:
- Subscribe to a channel using Appwrite's
subscribemethod, which receives two parameters — the channel we subscribe to and a callback function — to understand more about the various channels we can subscribe to, check out Appwrite's Realtime Channels.
Next is to render the avatar to the application to see the avatar of the active user contributing to our document. In the pages/index.js, we render the user avatar to our application.
<div className="absolute inset-y-0 right-0 flex items-center pr-2 sm:static sm:inset-auto sm:ml-6 sm:pr-0">
      {viewers.length > 0
         ? viewers.map((user) => (
            <img
              className="h-8 w-8 rounded-full"
              src={user.avatar}
              alt=""
            />
         ))
      : null}
 </div>
The above code snippet maps through our database's avatar displays on our document page. Below is our complete document contribution list page. Opening the page from multiple browsers creates a new document for each user and displays their avatars.
Conclusion
This article discussed Appwrite's Realtime feature to subscribe to application events and display a list of the avatars for the active users contributing to our document.
