The final stage of the software development process is deployment. This is when we make the application accessible to users by hosting it on a server.
In my last article, I talked about moving a Python application to YugabyteDB Managed. I used the JobBoard application for the experiment, and it ran on my local machine.
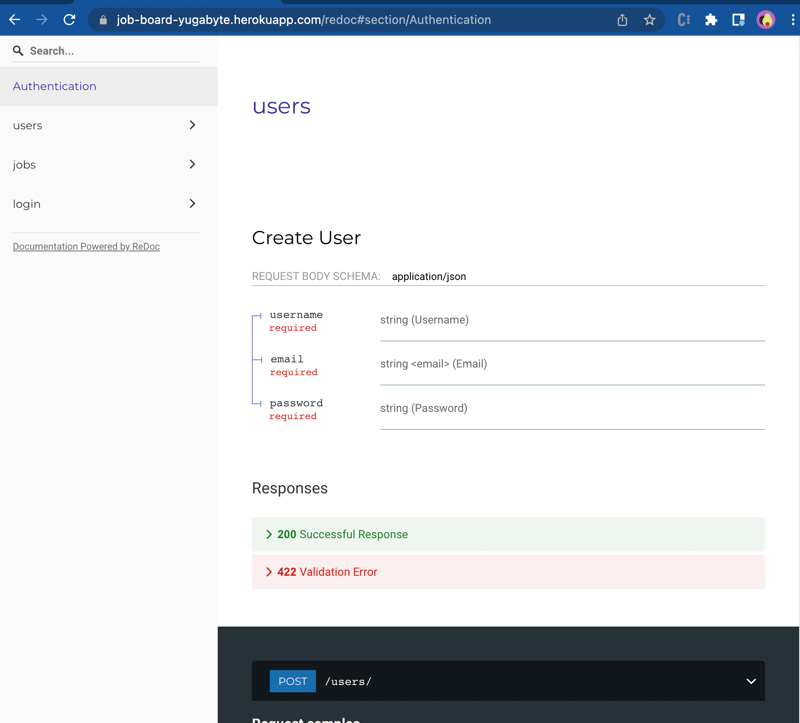
JobBoard is a web application for job posting. You can create, update, and delete job posts and it also supports user registration and authentication.
When it comes to deploying an application, you have the option to either use an in-house server or use a PaaS (platform as a service).
Deploying applications on in-house servers can be quite a headache. There are often many extra requirements that need to be met. These include taking care of the deployment process, managing servers, performing regular server maintenance for hardware and software updates, and doing periodic checks for security vulnerabilities.
All of these requirements can be eliminated by using a PaaS platform. The operational burden of running the platform, and maintaining and repairing your underlying infrastructure is eliminated. This can free up time for development activities that actually add value!
In this blog, I will discuss how you can deploy the JobBoard application built on FastAPI, to Heroku, using YugabyteDB as the underlying database, and make it accessible over the internet.
Heroku is a cloud-based platform (PaaS) that enables developers to build, run, deploy and manage their applications entirely in the cloud. Most app developers prefer Heroku because It’s free, simpler, and more convenient to deploy the application with version control.
Setting up a Heroku Account
With Heroku, you can take your application from development to production with ease. It offers a free tier for developers to host 550–1000 dyno (application containers used by Heroku) hours per month. It supports several programming languages including Java, Node.js, Scala, Clojure, Python, PHP, and Go, with a few add-on features.
After signing up, I installed the Heroku CLI on my local machine in order to create an app on the Heroku platform.
Creating a Heroku Application
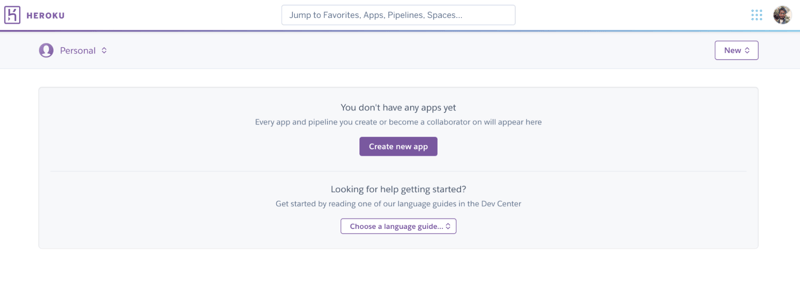
You need to login to Heroku to create your app. You can choose to create a Heroku app from the web dashboard or the CLI.
Adding Heroku Configuration in the App
In order to deploy your app to Heroku, you'll need to configure a few files - known as the Procfile and runtime.txt.
Procfile specifies the commands that are executed by the app on startup. The runtime.txt file is used to specify the Python runtime your app runs on. These files should be put in the root directory of the application.
Creating Procfile
- If you don't have the project on your machine, clone the JobBoard application repository from GitHub.
- Create a file called
Procfilein the root directory (without any extensions), and add the following command to the file.
web: cd backend && uvicorn --host 0.0.0.0 --port $PORT main:app
This command is to run the FastAPI application. Here web is a process type supported by the Heroku dyno and it executes the startup command associated with that process type.
Note: I had to specify the --host attribute explicitly because uvicorn defaults the host to 127.0.0.1, and the Heroku app attempts to bind on localhost resulting in an error, hence 0.0.0.0.
Creating runtime.txt
By default, new Python applications on Heroku use the latest Python version from the supported runtime by the platform. To use a certain Python version, you need to specify it inside runtime.txt as followed.
python-3.10.4
Adding requirements.txt to the Project Root Directory
When doing the building process of the application, Heroku looks for the requirements.txt in the root directory. If the requirements.txt is not found in the root directory, the application build process will fail.
For the JobBoard application, the requirements.txt file reside in the /backend folder, so let's copy that to the root directory.
$ cp backend/requirements.txt .
Now we have all the configurations in place, let's push our local application changes to Heroku.
Deploy Application to Heroku
Heroku offers version control of the application via git. While creating an application (heroku create), Heroku also creates a remote git repository for the application. This makes it easier for developers to roll back the application to the previous releases in case of an application crash.
Now, save the newly added files to the repo and push them to Heroku, as follows.
This will push the code to the Heroku remote repository and start building the application. Once the build is complete, it will automatically deploy the application. You can see the building process in the logs generated by the last command.
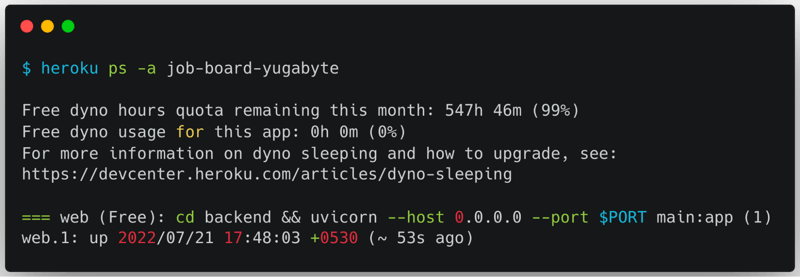
You can check the status of your application by running the following command:
Voila!! 🎉 your application is up and running in the cloud!
Note: If you see a no dynos running warning message against your application name, just run this command: heroku ps:scale web=1
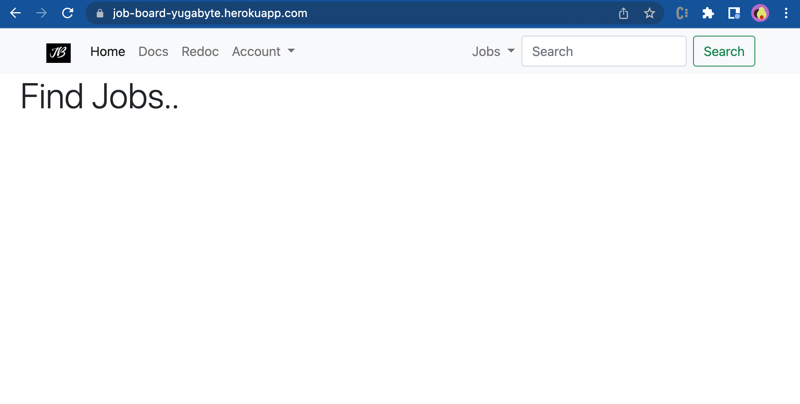
Once the deployment is successfully completed you can open and take a look at the application.
Run the following command to open the application from CLI:
$ heroku open
This will open your application in the browser.
Now that you know how to deploy a Python application to Heroku, you can change its configuration, view logs, scale it, and try add-ons.
In my next blog, I will talk through how to connect a Heroku application to YugabyteDB Managed.

